
Hello everyone !! We are back with another edition of SharePoint Tips. This is going to be a blog series. So, stay tuned! In the first part, we will show you how to make a mobile app in PowerApps that connects to both Flow and SharePoint with an aim to have an easy items submission and approval process.
Let's get started.
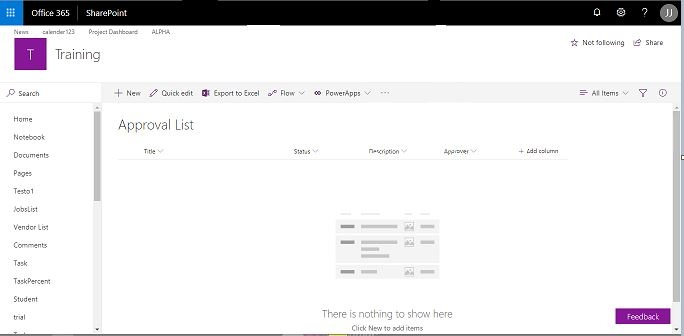
- To begin with we will be using a list named as Approval list with some simple fields. It is in this same list that users will be submitting the items and the same items will be approved.
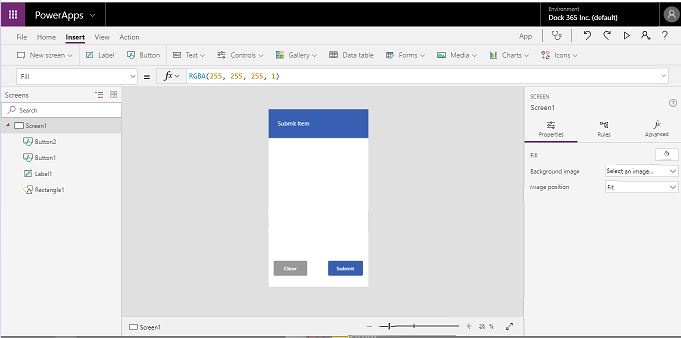
- In addition, we have also created an app from scratch with simple header and two buttons that don't work.
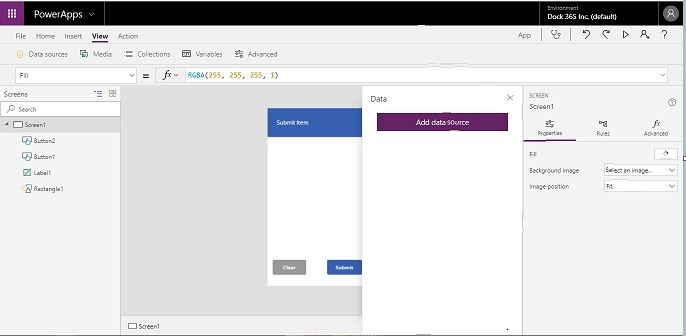
To start, you need to connect the app to the approval list. To achieve the same:
- Go to view tab Data Source
- Add a new Data Source
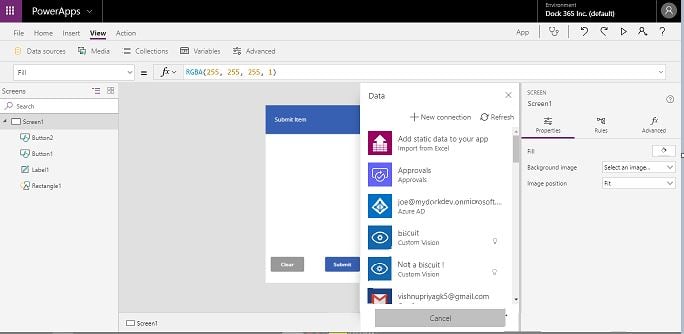
- Click new connection
- Once you do that scroll down and find SharePoint
- Choose Connect directly
- While that loads, grab the URL for the sub site that the list resides on and paste it as shown in the screenshot below and Click Go.
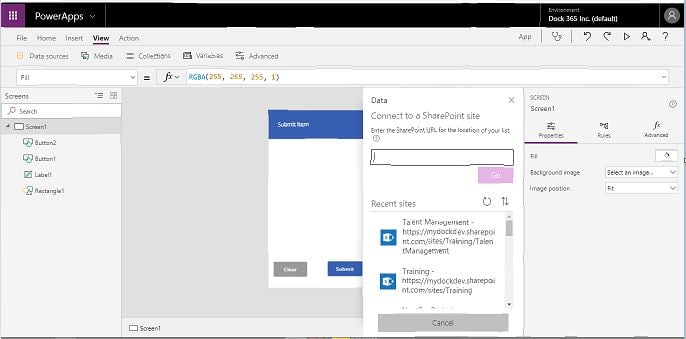
- Now, you can easily choose the desired list.
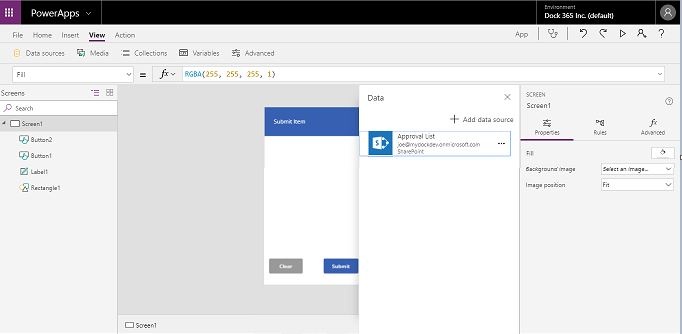
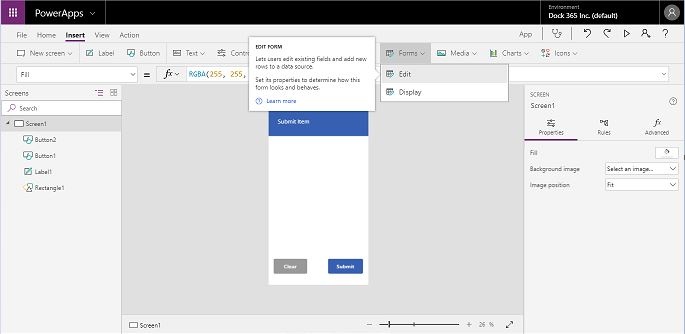
- Once that loads, you will be able to use the data anywhere in the application. Insert a form to use that data.
- Connect the form to the list you just made.
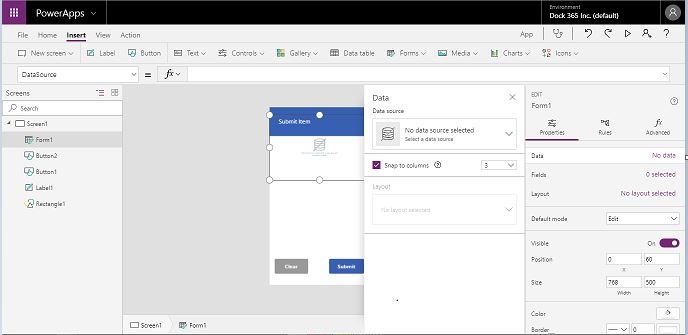
- Once connected, it will add all the fields in the form.You can edit the fields as per your requirements.
- Test it to see that the two buttons Clear and Submit actually don't work.
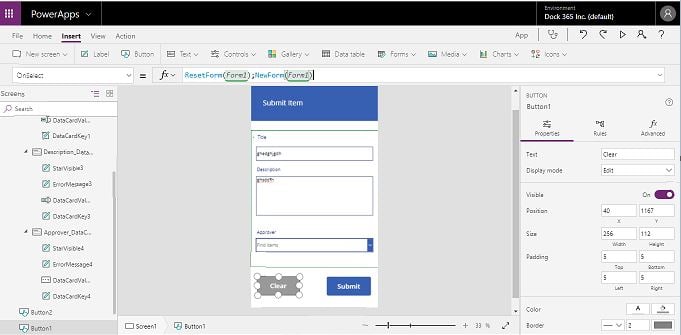
- To ensure that the app works, you need to initiate the form at some point in the application.
- Type in ResetForm(Form1); NewForm(Form1) to make the clear button completely functional.
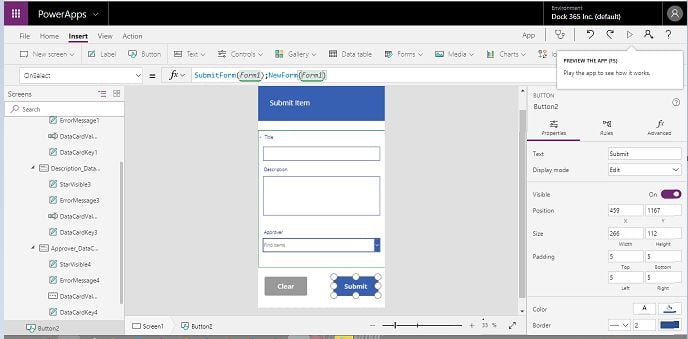
- Similarly, to make the submit button function you need to type SubmitForm(Form1);NewForm(Form1).
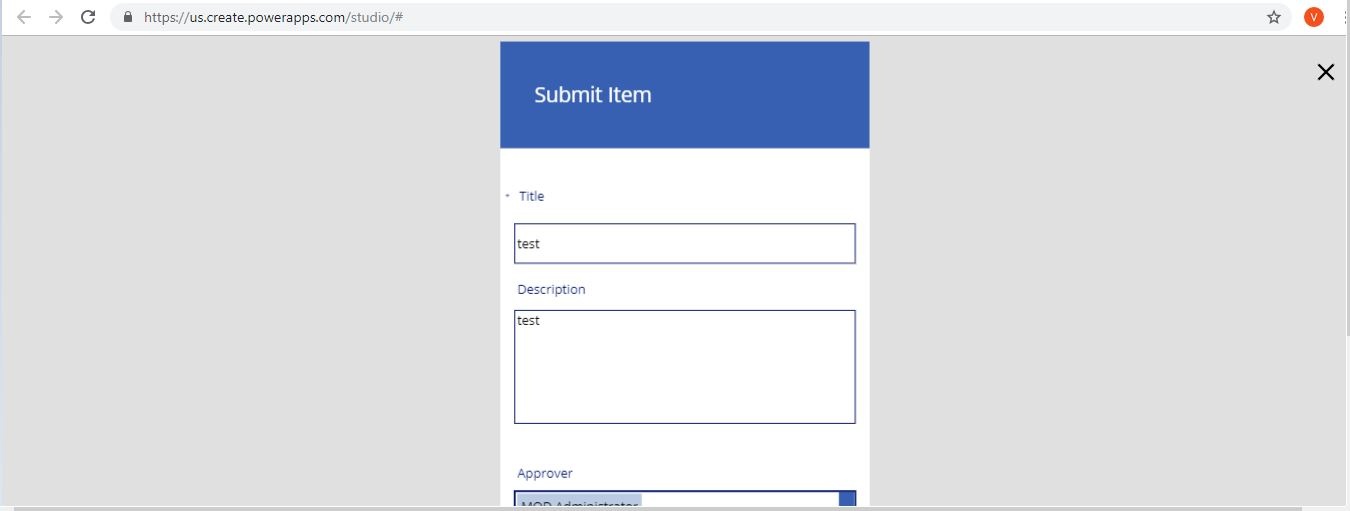
- Put some test data and choose an approver. The clear button and submit should work fine.
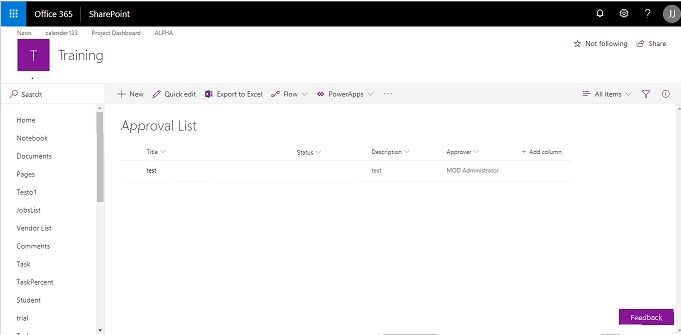
- Once you submit the test data, go to the list and you can see the right data and approver.
That's all for today.
For the next part, we will be using a flow to have this data send an e-mail to the approver. The concerned approver will either approve or deny the data in the e-mail and that will have an update in this list.
Book a Live demo
Schedule a live demo of Dock 365's Contract Management Software now.