
When was the last time you faced an issue of saving confidential documents in SharePoint? Did your colleagues find them? Oh yes, they did! How did this happen? Thanks to your SharePoint search engine that populated the results. To get rid of this, you need to prevent these files/documents from appearing in the search results, right? Here’s couple of ways to achieve this:
#1. Turning off search indexing at SharePoint Site Level
I don’t think any organization will turn off search indexing at the site level. Anyways, check this out:
- Select the gear icon and click on Site Settings.
- Under search, select Search and offline availability
Under Indexing Site Content area, select the “No” radio button as shown below:

N.B: By doing this activity, it doesn’t mean that your site cannot be accessed by others. For sure, users can gain access. It’s just that the search doesn’t crawl the site while doing the keyword based search.
Setting up unique permissions for document library
The SharePoint intranet portal is built based on user permissions on the site level, folder level and list levels. Here, you need to set unique permissions for a document library level. This avoids files appearing in the search for users who don't have access. Setting up the security at the site level is recommended; however, users may require defining their own unique permissions for confidential folders.
Let’s go ahead and setup unique permissions for a document library:
- Move towards the document library where you wish to setup unique permissions.
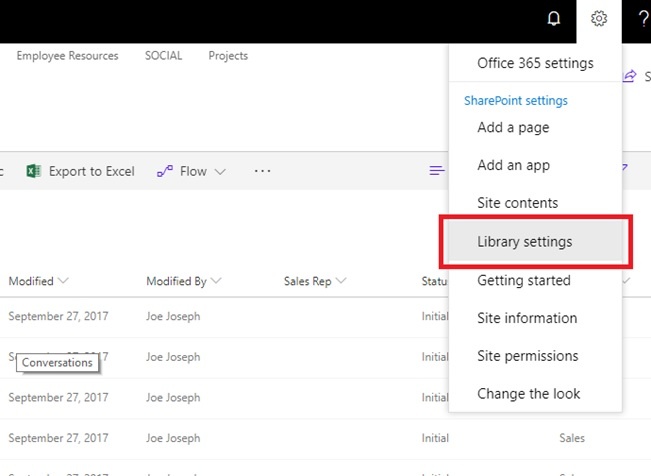
- Select the Gear Icon and choose Library Settings
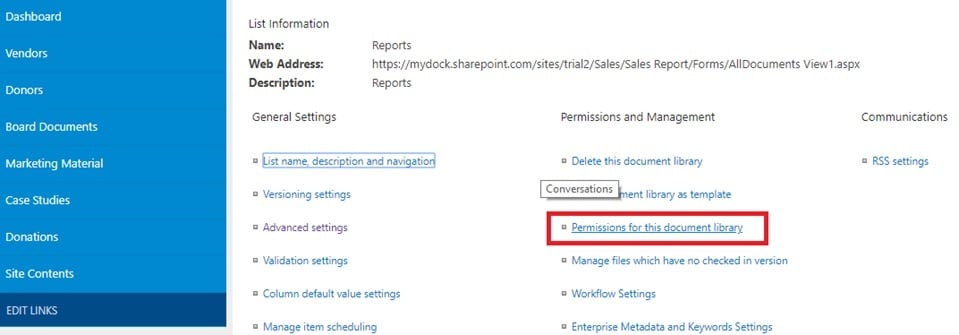
- Select “Permissions for this document library”
- In SharePoint by default, the document library gets the permissions from the parent site. Whatever user permissions is defined there, it will reflect onto the subsites and document libraries.
- To have the unique permissions in place, select “Stop Inheriting Permissions.

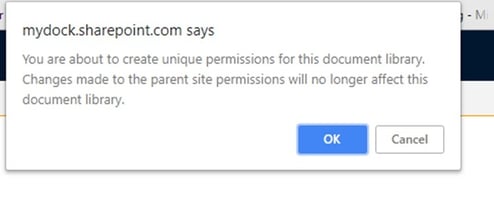
- You will receive a popup on the browser, Press OK
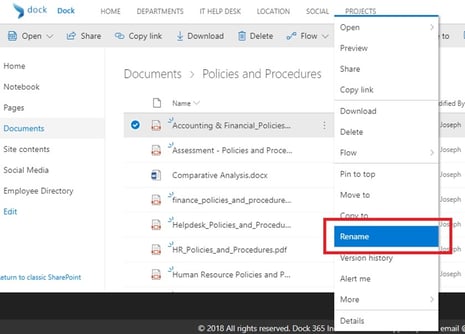
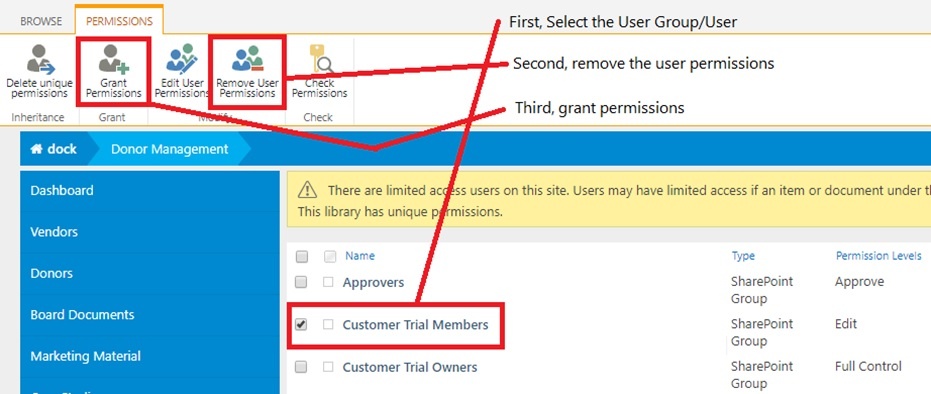
- The next step is to remove or add groups or users as per your requirement. Follow the illustration below. All you need to do is select the user or a group, decide on what activity you need to attain. Remove User Permissions or Grant User Permissions. Remove all the user permissions from the settings and create new ones accordingly.
#2.Creating unique permissions for a document library:
- Go to your document library and select one of the files/folders (checkbox).
- Select the i button as shown in the right-hand side of the screen upon selecting the file.
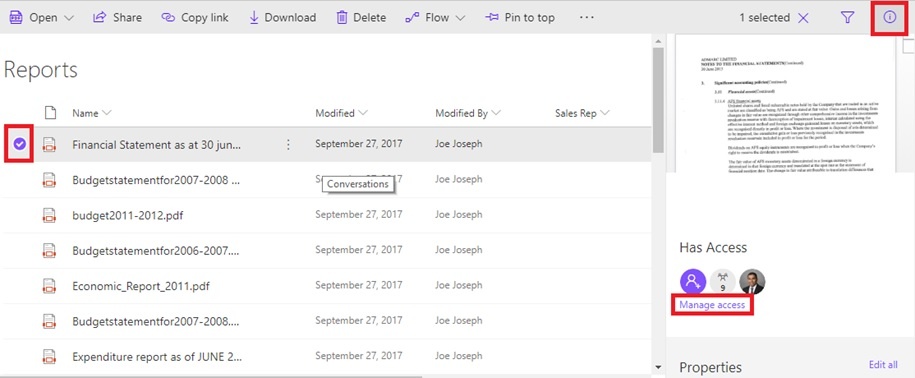
- Select Manage Access
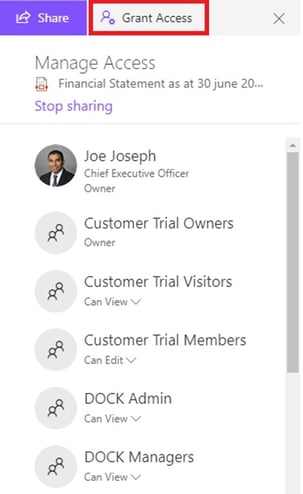
- Upon clicking Manage Access, you will see another page where it asks you to share or grant access. You can also see the list of existing users to whom you have shared the file/folder earlier.
#3. Removing Search Index at Document Library level.
This option can leave the security as it is, but avoids documents from being indexed in the SharePoint Search.
Let’s go ahead and revoke this feature:
- Go to your document library
- Select the Gear Icon and move towards Library Settings
- Select Advanced Settings
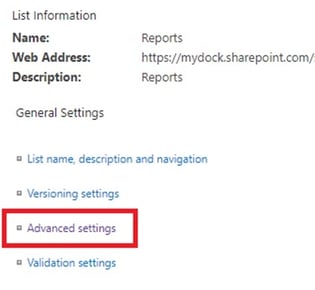
- Go to the middle of the page until you find the Search section. Change the radio button option to No instead of Yes.
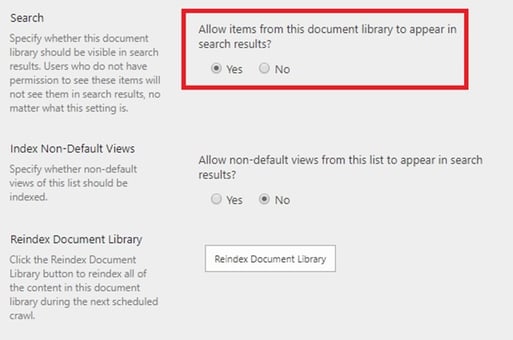
Select OK to confirm.
N.B: By creating this configuration, it will help you prevent the folders/files to appear in the keyword search. However, users who have access to this document library will be able to navigate easily. This also works for SharePoint lists as well.
Book a Live demo
Schedule a live demo of Dock 365's Contract Management Software now.