Microsoft 365 includes several features that allow you to efficiently plan, organize, and track your projects. Microsoft Planner is one of the most impressive tools, one that is widely used to improve organization.
On the other hand, SharePoint allows you to create sites and pages, as well as create portals for departments, projects, teams, and more. You can create and use SharePoint pages for all kinds of coordination, data processing, and teamwork requirements.
In this blog, we will discuss how you can work on a Plan in Microsoft Planner from your SharePoint page.
The basic processes in Planner include creating boards, buckets, and arranging tasks or projects. With the help of boards, you can create tasks for each team based on projects or other activities. You can them create assignments to specific users and track progress. Buckets act as columns where you can categorize your tasks by classifying them into various buckets.
What is a Microsoft Plan?
To get started with Microsoft Planner, you'll first need to create a Plan. You can also choose to work with any existing Plan. When creating a new Plan, a new Microsoft 365 group will be created in association with the Plan. This makes it easy to collaborate with others in other Microsoft applications such as Outlook, OneDrive, and OneNote.
Your Plan will include multiple display modes like a board or chart. These modules help provide a simplistic overview of the status of various tasks.
The Purpose of SharePoint Planner Web Parts
SharePoint Planner web parts have one goal: for you to easily work on your Plans directly from your SharePoint Pages. To do so, you first need to connect your Plans with the SharePoint pages. Once you have added the web part to a page and have selected the Plan you wish to connect, you are ready to go.
From this point, you can create new tasks, edit the tasks already created in the Plan, and make changes to your buckets straight from your SharePoint pages. In this way, you can save time by having direct access to your Plans within SharePoint. This is one standout feature of Microsoft 365.
How to Add the Planner Web Part to a SharePoint Page
Let’s see how to link Planner to SharePoint with the help of the Planner web part:
- Sign in to your Microsoft 365 account and go to the SharePoint Start Page.
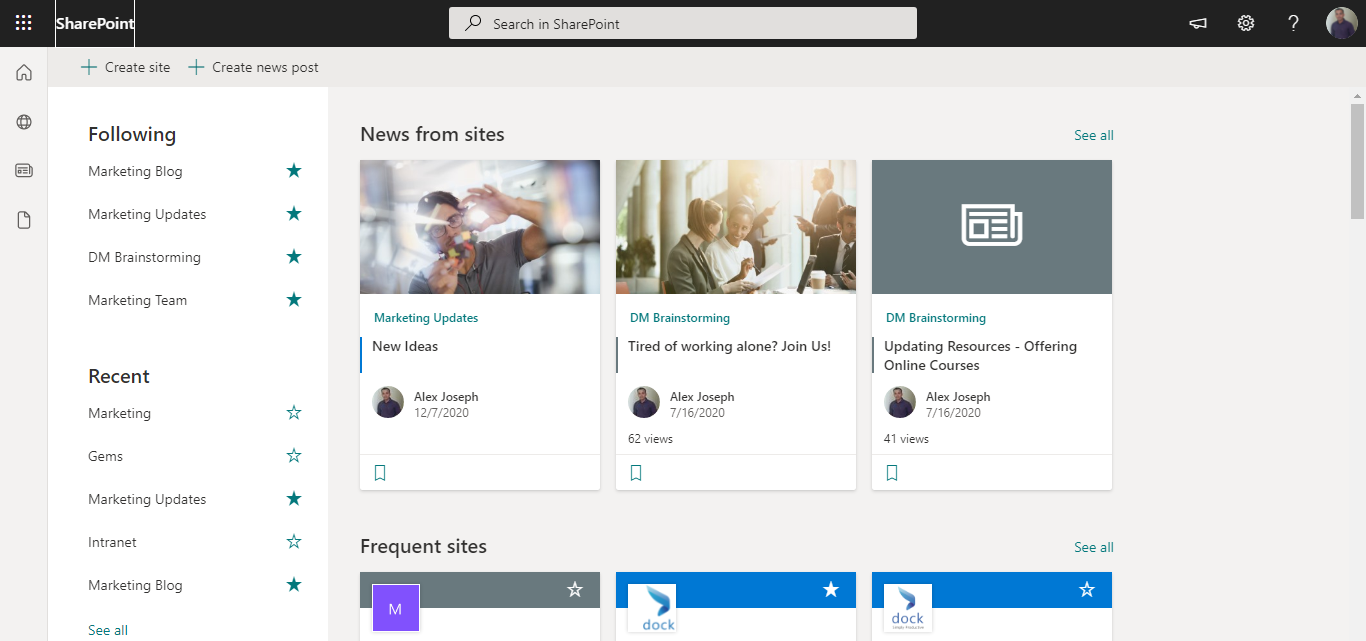
- Choose the desired SharePoint site and page.
- We are choosing the Search Analytics page from the Marketing Updates site.
- Move the page to edit mode by clicking on the Edit option placed at the top right corner of the page.
- Similar to the case of adding all other web parts, click the + icon located towards the end of a section, and search "Planner" in the window that appears.
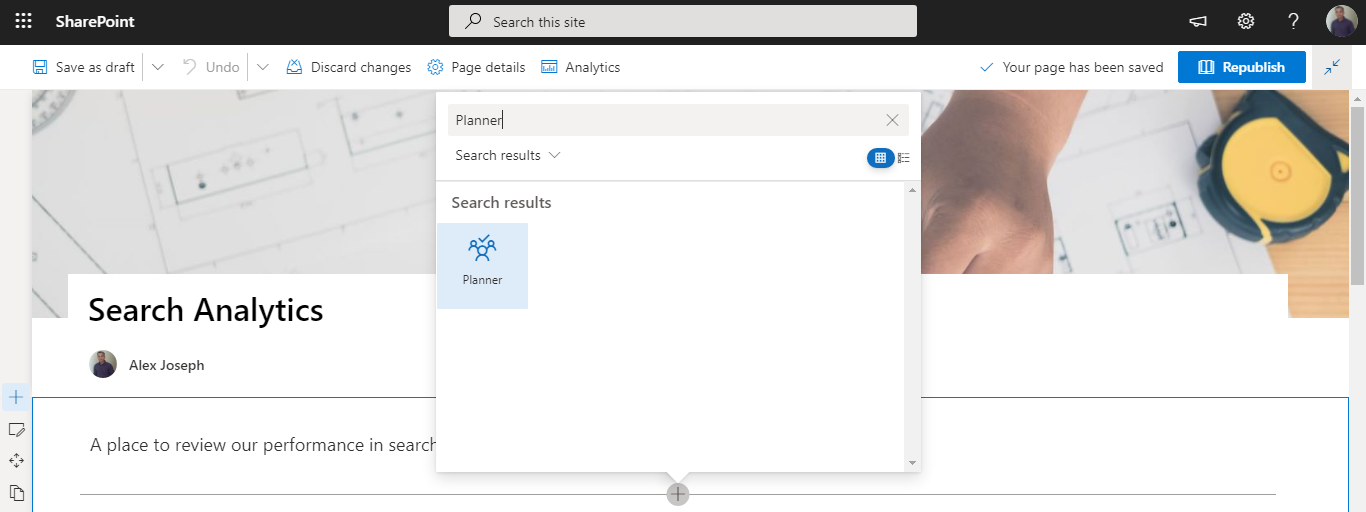
- Choose the Planner web part.
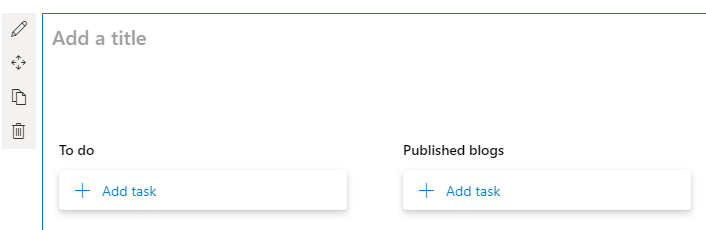
- Select an existing plan or create a new one from the settings pane that appears on the right.
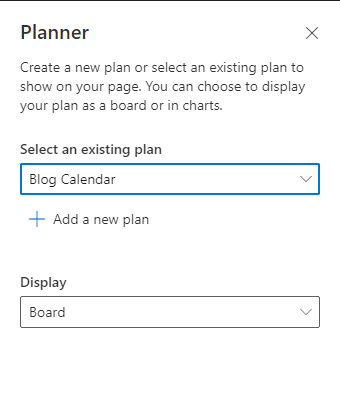
- Choose the desired Display view.
- Provide a suitable title to the newly added web part to the page.
- Click the Republish option to save all changes and make the page live.
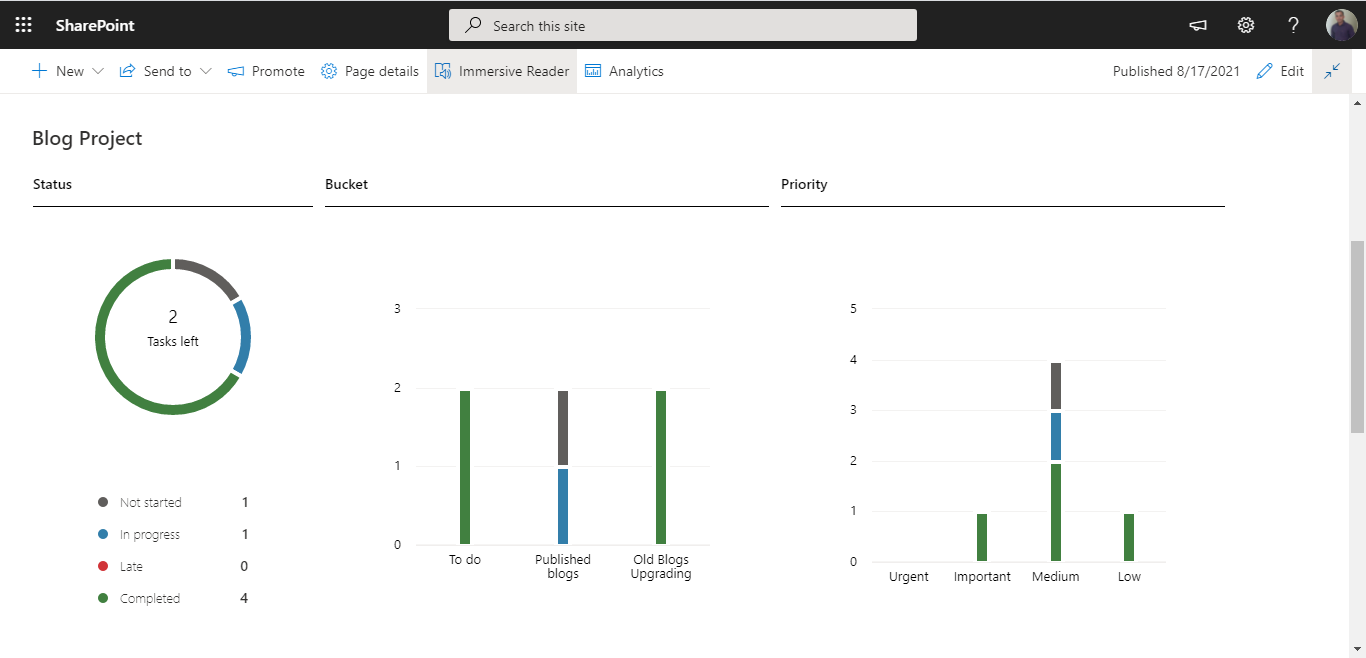
- You can now see the planner web part showing the features you have chosen. We have chosen the Charts (full) option here.
- You can try different display options according to your requirements.
How to Use the Charts View in Planner
The Charts option is a unique feature in Microsoft Planner that allows you to get answers to some of the questions team leaders or managers frequently ask.
Some common questions you can easily find answers for using the Charts option include the following:
- Are there any tasks that are not going as scheduled/expected?
- What is the status of the buckets and tasks in them?
- What are the urgent tasks currently running?
- Is there anyone in the team overloaded with tasks?
The answer to these questions allows you to make quick decisions and adjust accordingly to keep your team productive and effective.
These features allow you to utilize your resources exceptionally. We highly recommend linking Microsoft Planner to your SharePoint pages so you can use these features effectively.
Book a Live demo
Schedule a live demo of Dock 365's Contract Management Software now.