This is one of the major queries we receive every week. “Team, how do we give access to our vendors? We need to share our contracts with them instead of just sending an email. The feature should also include:
- Third Party Vendors should receive the document, but they can't edit it.
- They can't delete the document.
- SharePoint should track the last modified date.
- SharePoint should track to which external users the file has been shared.
- We don’t mind providing access to Vendors to one of our departmental portal.
Yeah! That’s a lot of questions. So, I decided to write a blog/tutorial on how to do this (This way, I can save hours instead of sitting with the client to work on SharePoint external users sharing steps). There are three user experiences where the guests/external users can experience when invited to your SharePoint tenant. I’ll explain them one by one with screenshots.
Classic SharePoint Invites
This is what most of the users have been following for years. When a guest user is invited to a list or site, or even added to a SharePoint department group, they will receive an email notification.
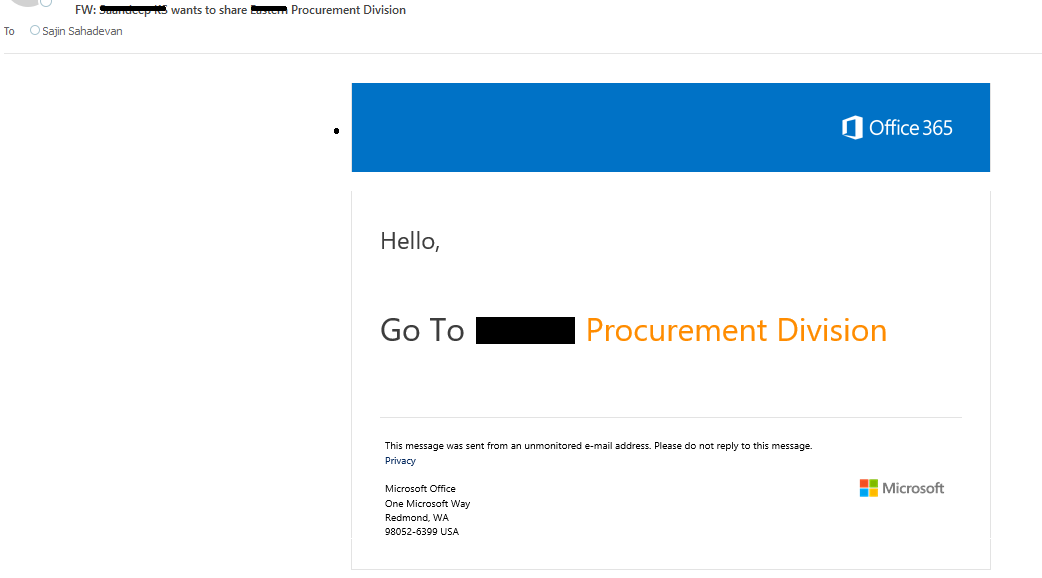
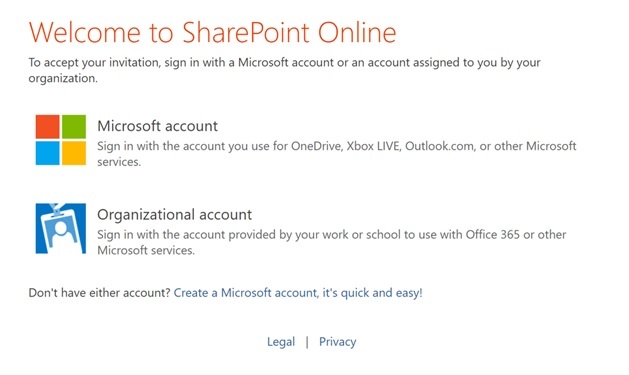
The link appearing in the email with point you to the Accept Invite. Upon clicking that, you will get to another landing page where the user is promoted to choose the type of account.
If the user has a Microsoft based mail accounts like live.com, hotmail.com, outlook.com etc. you can choose the Microsoft Account. If you are using email from work, school, select organizational account. When choosing a Microsoft Account, you get into the following screen:
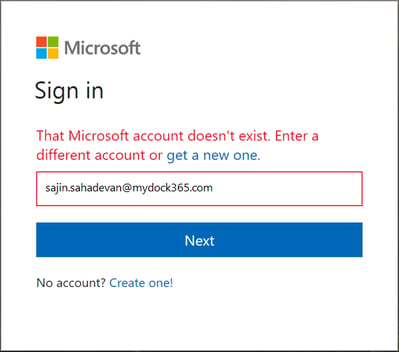
N.B. If you don’t have a Microsoft Account, and you enter your email, you’ll see the following error message:
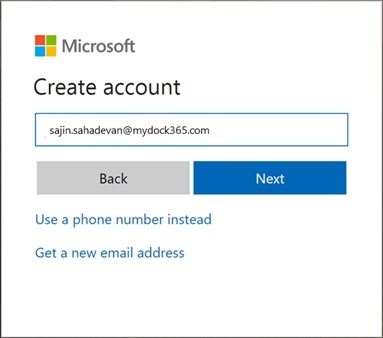
Don’t worry, just go ahead and create one:
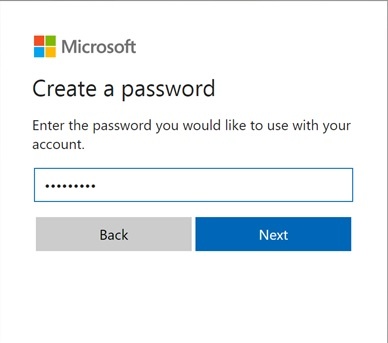
Enter your desired password:
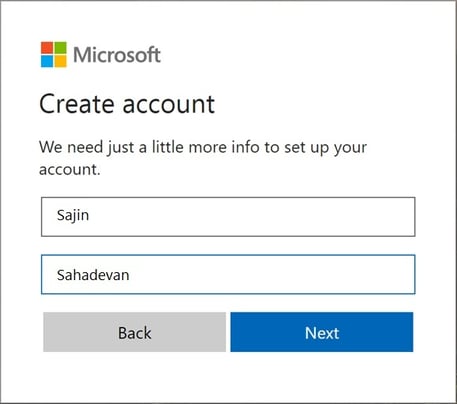
Start with your little information such as First Name and Last Name:
To ensure security, provide your date of birth as shown below:
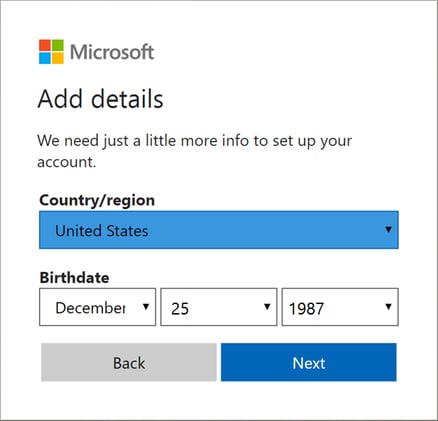
Oops, you just found out my birthday! 😉
Next thing is to check your email.
Microsoft (account-security-noreply@accountprotection.microsoft.com) will send a code to verify your email address. Proceed by entering the code.
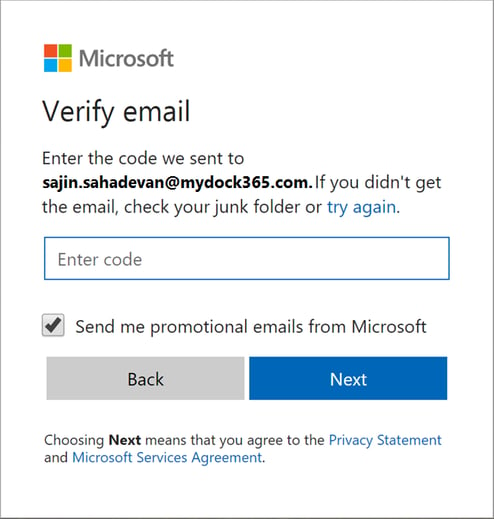
After entering the code, select next. It takes you to the Stay Signed In window:
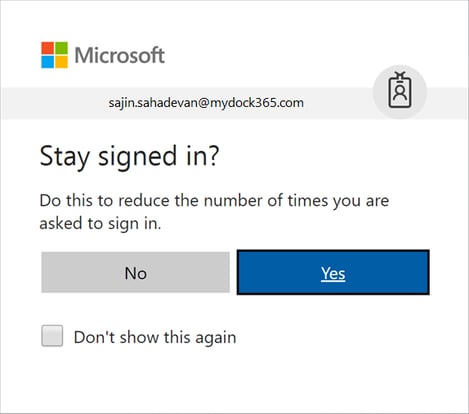
If you are doing this from a shared computer, select No. After doing this, you can access the site.
The latest Sharing Interface
The latest sharing interface also called as ad hoc is appeared when a user shares a folder/file in Microsoft OneDrive Library or document library in SharePoint Online. If the user is already present in the directory or if a document library/list is shared with the user, it will change to the classic interface.
It starts with the invitation (Same as that of the Classic style)
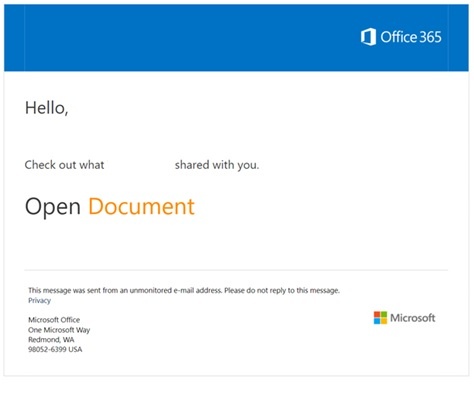
But when you click on the link, you come across a different interface:
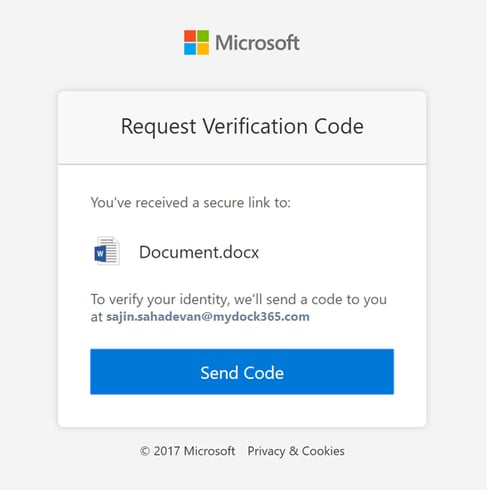
Select Send Code, and you will receive a one-time code like the classic style in your email.
Enter the received code to gain access to the SharePoint Site/List.
Microsoft Azure B2B Invites
This is definitely a tedious task to showcase uniformly. This is due to the flexibility of customized invites. In the previous steps, we cannot customize the invitation messages/templates but here, this is achievable. You can change the text shown in the message depending on the locations and email addresses used for the invites.
Here’s a sample invite:
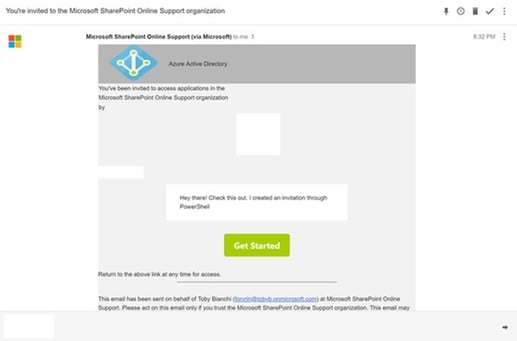
The user needs to confirm the invite by granting the inviting institution to see your name information and email address.
The user will be directed for authentication, either with Microsoft Account or your organization’s Office Account (depending on the identity provided on record). After the user authentication, the user will turn out to be the guest user for the invited party’s SharePoint Tenant.
Book a Live demo
Schedule a live demo of Dock 365's Contract Management Software now.
Written by Sajin Sahadevan
He is a Microsoft Certified Technology Specialist cum Digital Marketing Expert and has experience of 6 years. He loves learning about latest technologies like CRM, collaboration tools, marketing solutions etc.


