
Easily migrate your file share content to SharePoint Online and OneDrive using Azure Data Box and the SharePoint Migration Tool. Moreover using the Data Box, you no longer need to depend on the WAN link to transfer the data. Talking about the Microsoft Azure Data Box, it is essentially a service that enables you to order a device from the Microsoft Azure portal. You can copy terabytes of data from your servers to the device. Once you ship it back to Microsoft the data is copied into Azure.
Requirements and costs
- When it comes to the Azure subscription, Data Box is only available for Enterprise Agreement (EA), Cloud solution provider (CSP), or Pay-as-you-go subscription offers.
- How to use the SharePoint Migration Tool.
- A nominal cost is charged for the Azure Data Box
Workflow overview
- Place an order for the Azure Data Box
- Once you receive the box configure it
- To the Azure Data Box file share, copy your on-premises file share
- Follow the instructions and ship the data box back per instructions and wait for the copy to complete
- Wait for the data copying process to complete
- Create a VM in the Azure portal and mount the Azure file share on it
- Install the SPMT tool on the Azure VM
- Using the Azure file share as the source run the SPMT tool
- Complete the final steps
- Verify and confirm your data
How to use the Azure Data Box?
Once you receive your Azure Data Box, use Quickstart: Deploy Azure Data Box using the Azure portal. This will help in setting up and configuring your Data Box and also copying the content to the device.
Things To Remember
- To ensure that your data doesn't end up in block blobs or page blobs only use “StorageAccount_AzFile” share in the Data Box to copy the data.
- Within this share, the first level folder corresponds to an Azure file share. Once you create a folder, copy all your contents into it. This is the same file share that will be mounted on your VM in the next step.
Migrating your data to SharePoint Online using SPMT
You should start the data migration process only after you receive a confirmation from the Azure data team that your data copy has completed. To ensure the best performance and connectivity, it is recommended to create an Azure Virtual Machine (VM).
- Create a virtual machine sign into the Azure portal. Learn how: Quickstart: Create Windows virtual machine in the Azure portal.
- Mount the Azure file share onto that VM.
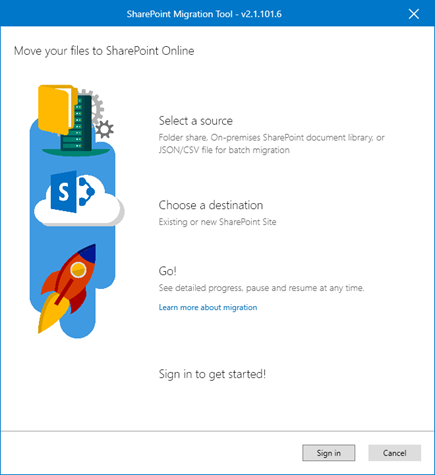
- Download the SharePoint Migration tool and install it on your Azure VM.
- Download here: SharePoint Migration Tool.
- Start the SharePoint Migration Tool.
- Click Sign in and enter your Office 365 username and password.
- When prompted “Where is your data?” select File share.
- Enter the path to your Azure file share where your data is located.
- Follow the remaining prompts as normal, including your target location.
- For more info see: How to use the SharePoint Migration Tool.
About Dock 365 Intranet Portal
Dock is a Pre-Built intranet portal for your organization. It is powered by Microsoft SharePoint & Office 365. Dock also comes with project management, contract management, and many other business productivity features. It creates sustained, connections and conversations across the organization, promoting better employee experience and organizational performance.
Click below to schedule a Free Demo.

Book a Live demo
Schedule a live demo of Dock 365's Contract Management Software now.