
Microsoft Lists is a fantastic option for processing large amounts of data. You may be familiar with Excel Spreadsheets for storing and monitoring data lists. Excel spreadsheets continue to assist companies in managing data lists. Microsoft Lists is capable of efficiently processing and tracking data, so transitioning your spreadsheets to a SharePoint List is one of the best decisions you could make. In this blog, we'll explain how to create a list in SharePoint Online from an Excel Spreadsheet.
Advantages of Importing Your Excel Spreadsheets to SharePoint Lists
Importing your Excel Spreadsheets to SharePoint Lists offers several advantages. Creating new lists in SharePoint saves much more time than creating them in an Excel file. By importing an existing Excel Spreadsheet to create a new list, you can continue tracking the list data from where you left off in the Excel sheet.
When you import an Excel file into a SharePoint List, the table headings are converted to headings of columns in the list, where other data is then added as list items. In Microsoft Lists, you can use features like edit history, task management, and the ability to add attachments.
How To Create A SharePoint List From An Excel Spreadsheet
Complete the following steps to create a Microsoft List from an existing Excel Spreadsheet:
- Find the Excel Spreadsheet in your desktop or SharePoint site’s default document library, then format the desired content into a table using Format as Table.

- Go to the SharePoint Site that you'd like to create a new list for using the Excel Spreadsheet.
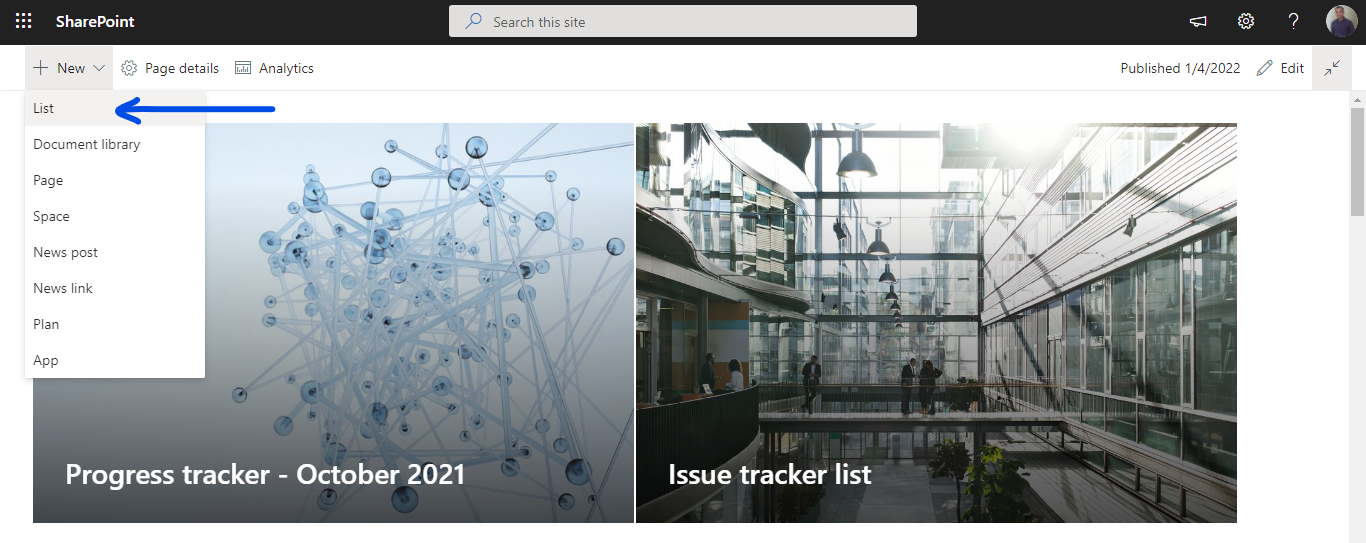
- Click New and choose List.
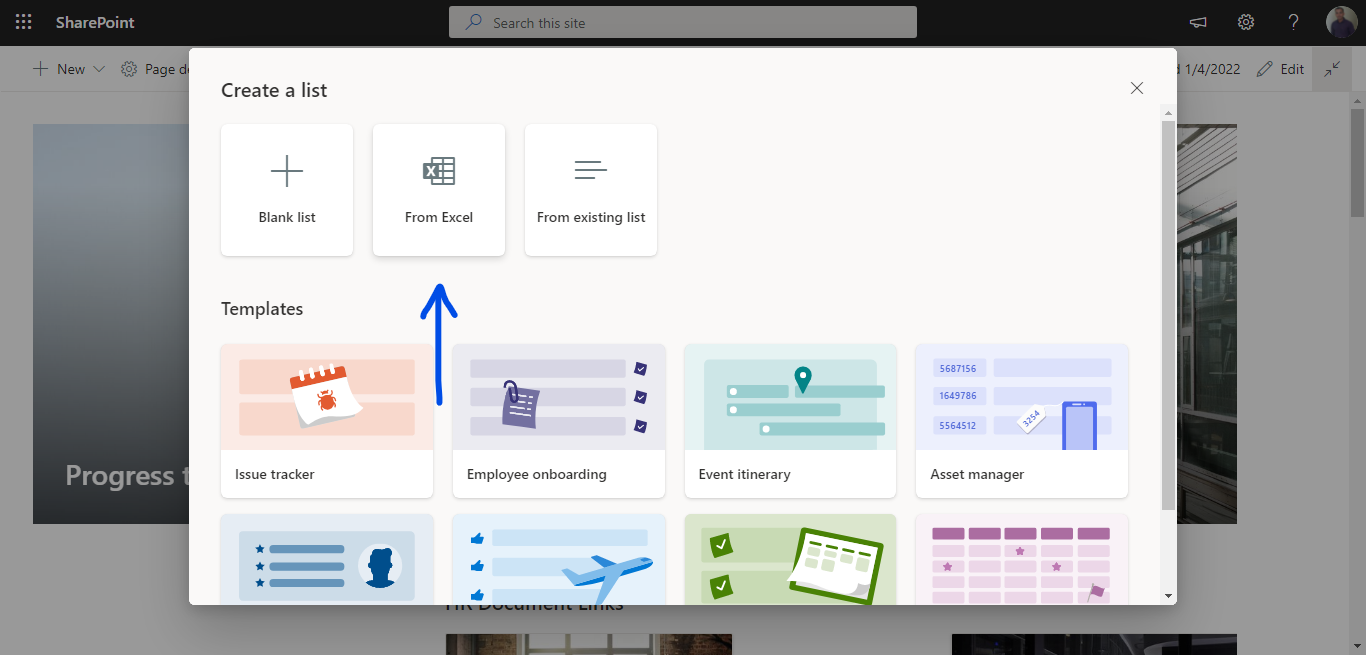
- From the Create a list page, choose From Excel.
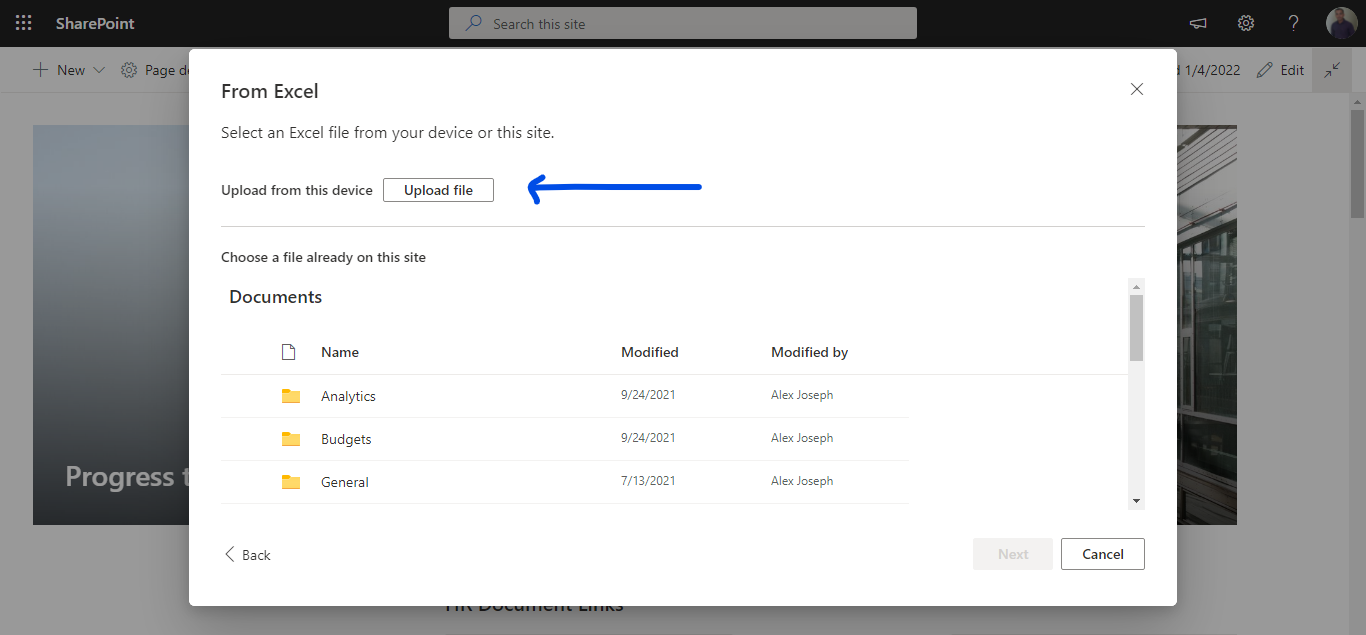
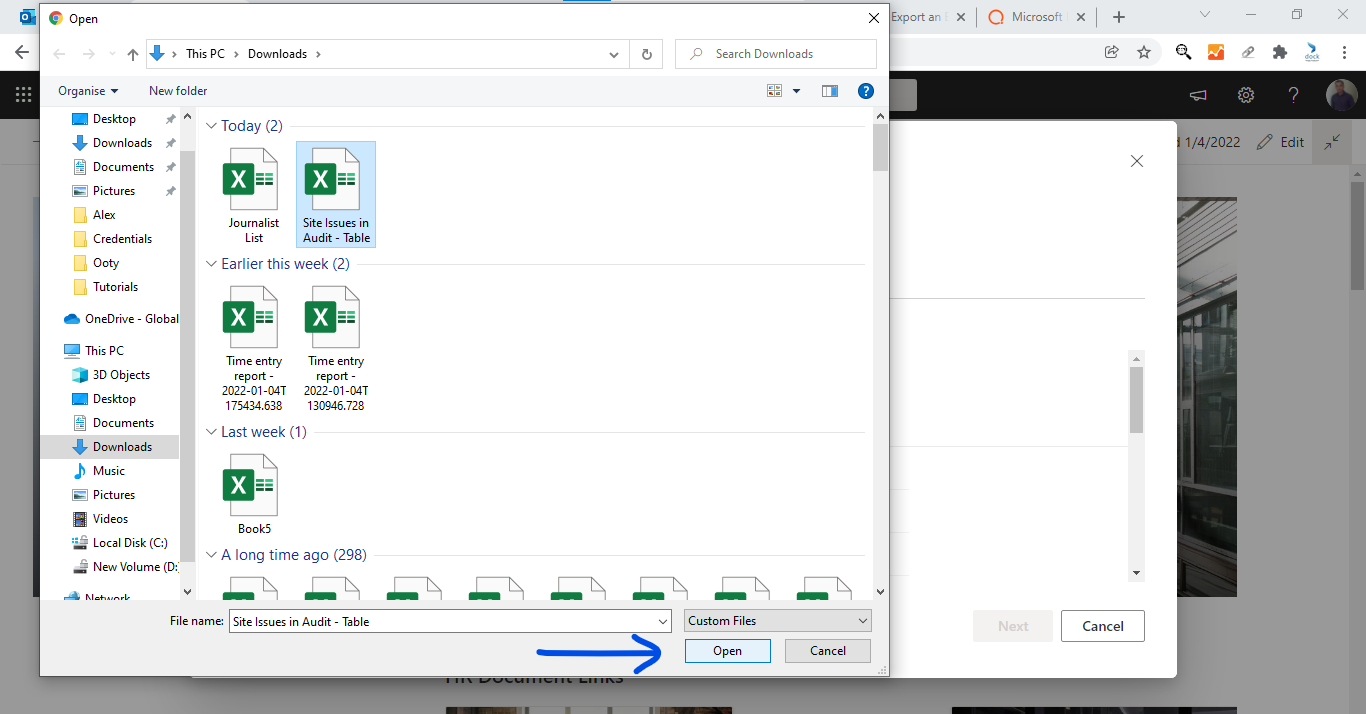
- Click Upload file and select the file from your desktop or default site document library. Click Open.
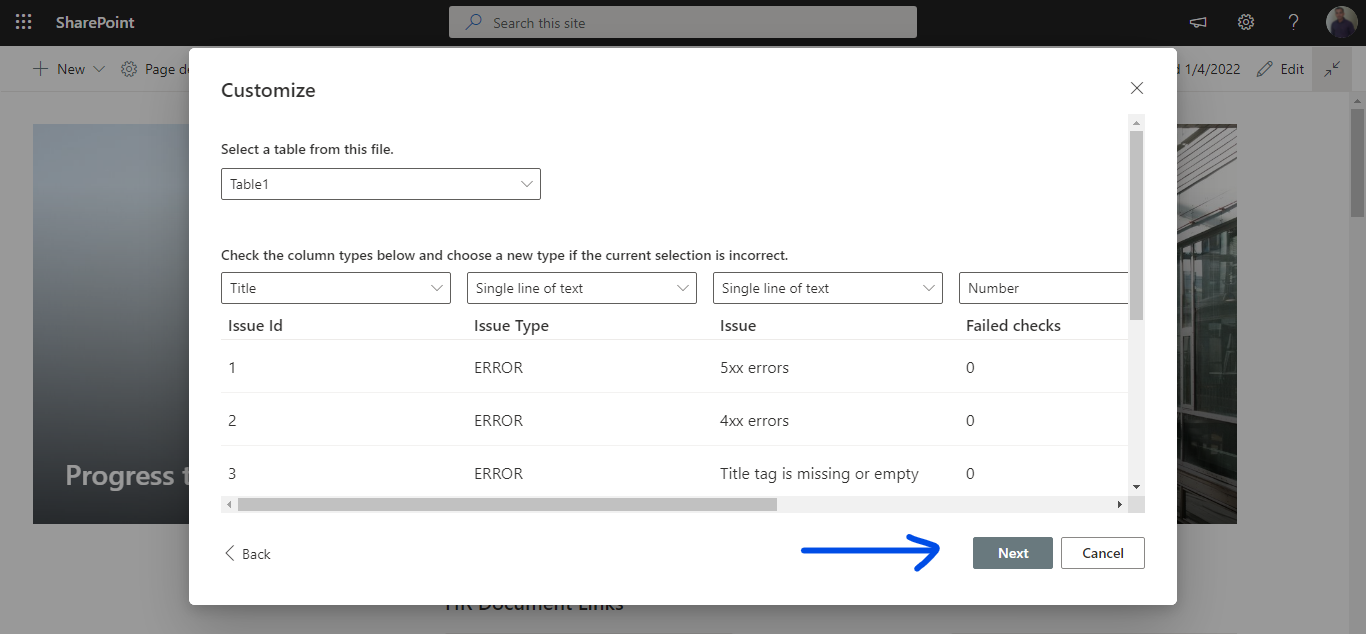
- From the Customize window, change the column type if required, then click Next.
- Make any necessary changes to the Name of the list, add a description, and enable or disable the Show in site navigation.
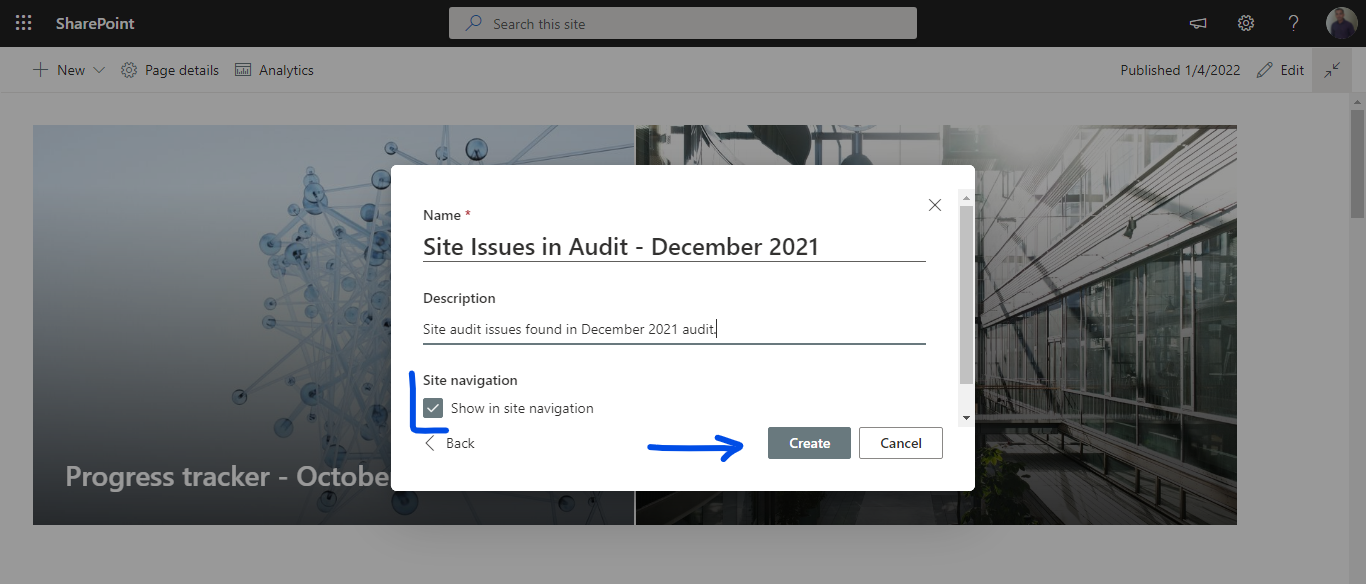
- Click Create when complete.

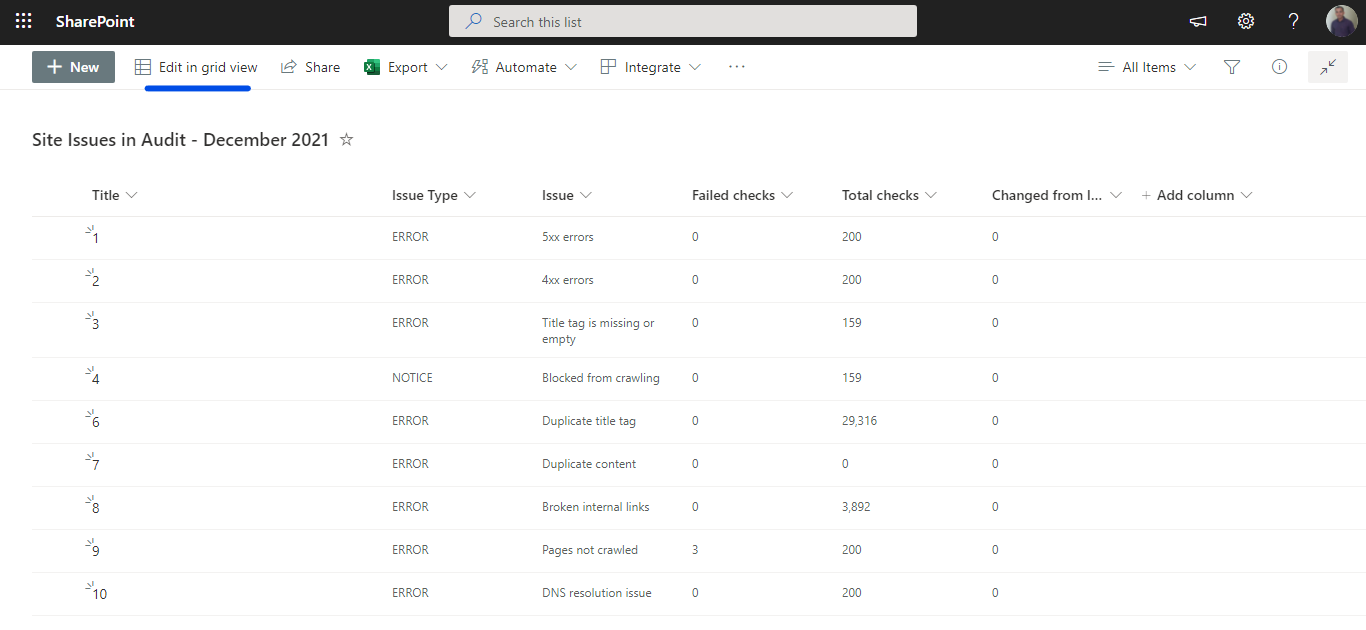
- The list is now created.
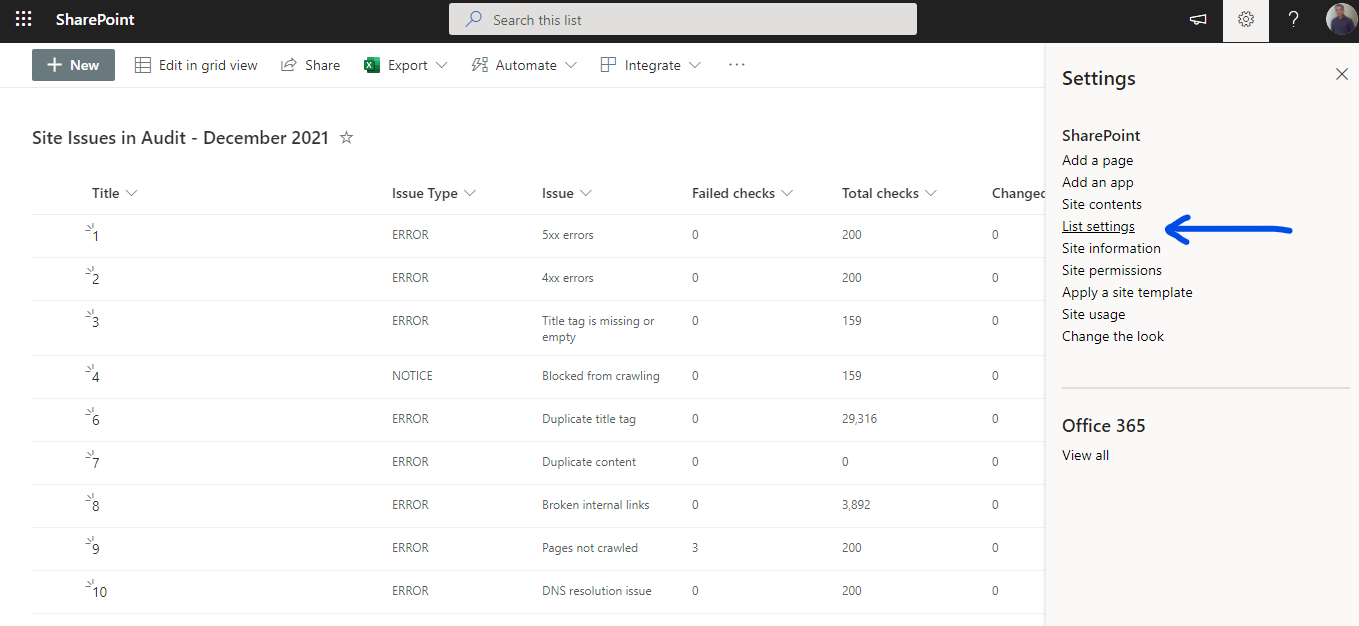
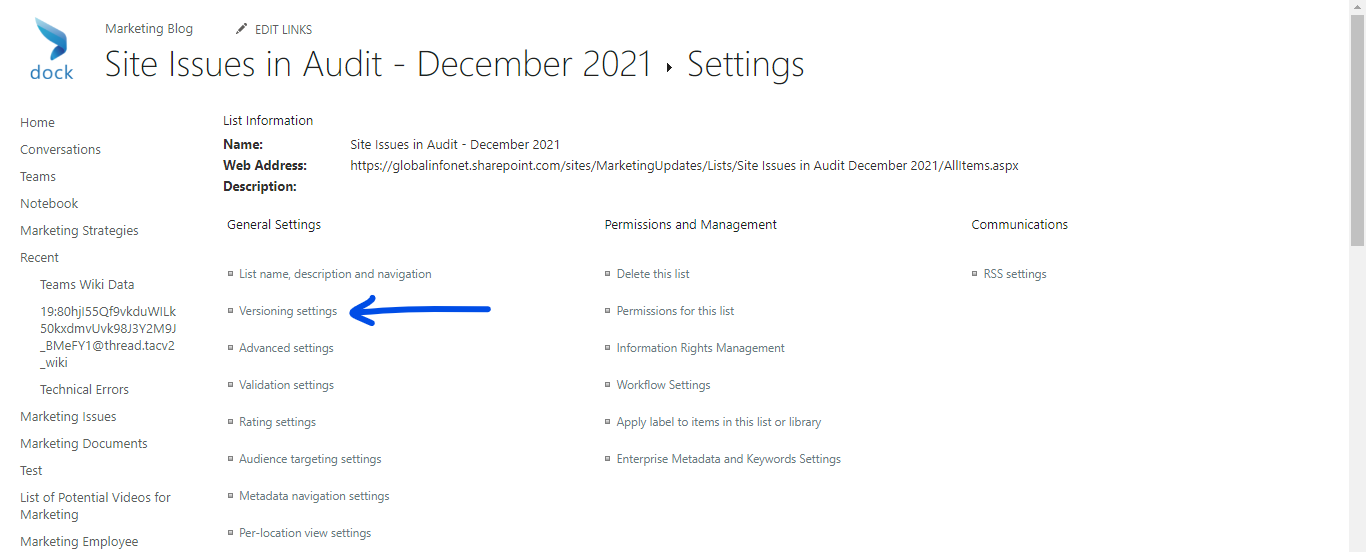
- Go to the Settings pane by clicking the Settings icon. Choose List settings to configure versioning settings if desired.
- Choose Versioning settings from the Settings page.
- Configure Content Approval and Item Version History options as needed.
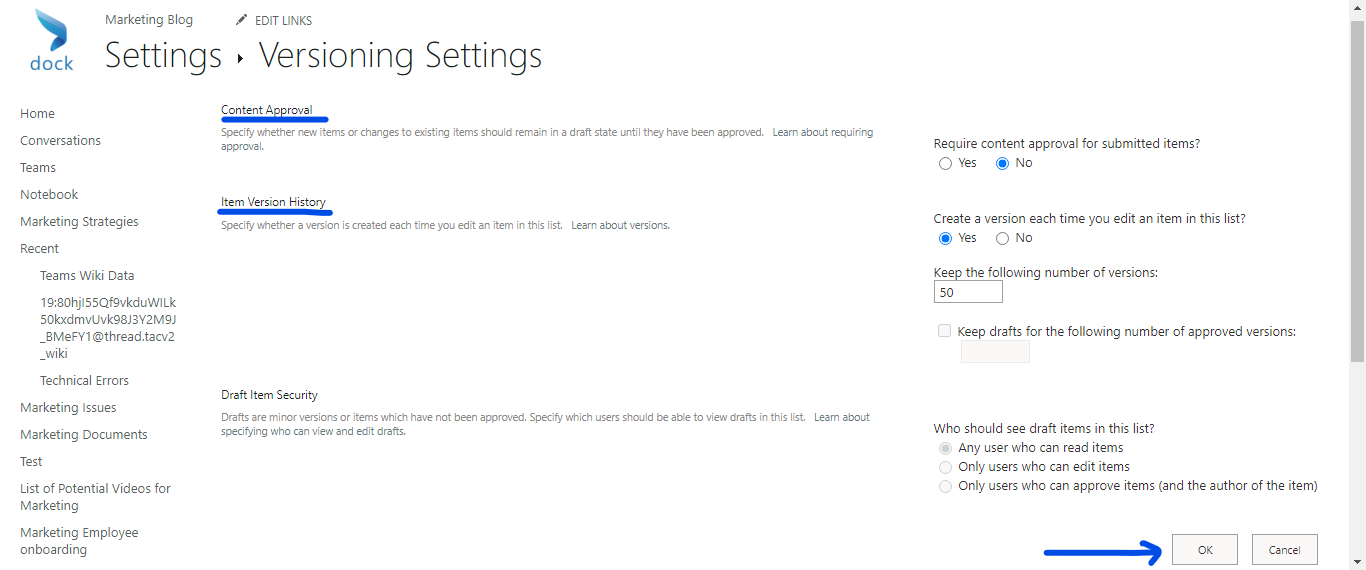
- Click OK when complete.
Considerations When Importing An Excel File into A SharePoint List
When importing Excel Spreadsheets, if they do not contain a table, then you will receive instant instructions to assist you in editing the document so it can process the import.
SharePoint Lists is capable of processing tables containing up to 20,000 rows to create a list. This is possible in all SharePoint versions. Column types are automatically configured during the import. However, after this first stage of the import, it's key to review the list and adjust column types as needed.

With these options, you can import Excel Spreadsheets into SharePoint Lists for increased user-friendliness and efficiency in data processing. Now that we've covered the easiest way to import data from Excel Spreadsheets to SharePoint Lists, let us know your thoughts and queries in the comments section below.

Book a Live demo
Schedule a live demo of Dock 365's Contract Management Software now.