Document collaboration is one of the most popular capabilities of Microsoft SharePoint that leads many businesses to subscribe to Microsoft 365. Within SharePoint, there is a substantial list of web parts that allows users to manage, showcase, and list files to enhance collaboration.
In this blog, we will discuss the SharePoint File Viewer Web Part. There are other web parts available, such as the embed web part and the image web part, that will help assist you in showcasing your content on a SharePoint modern page. Let’s go ahead and see exactly what the File Viewer Web Part can do for your company and how to go about using it.
What is the purpose of the File Viewer Web Part?
The File Viewer Web Part was previously known as the "Document Web Part". Microsoft changed the name to help users easily understand and identify the purpose of this particular web part. The main purpose of this web part is to allow users to insert files into SharePoint modern pages. For example, users can add a wide range of file formats into the pages using this web part. Examples of these compatible file formats include Word, Excel, PowerPoint, PDF’s, Visio, video, and 3D models.
Characteristics of the File Viewer Web Part
With the File Viewer Web Part, users can configure settings to ensure that the web part is showcasing the document in the manner desired. When configuring settings, you will first want to select the file you wish to insert into the modern page and determine its purpose. The File Viewer Web Part allows you to both view the file on the same page and open the document in a separate tab which allows for advanced collaboration activities like co-authoring and editing. Users can also download and share files. In addition, the File Viewer Web Part has zoom in/out capabilities for a better file viewing experience.
How to Add Files to a Page with the SharePoint File Viewer Web Part
Complete the following steps:
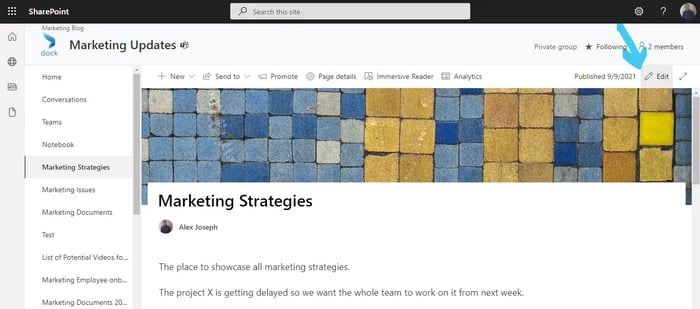
- Go to your SharePoint Start Page
- Click the desired SharePoint Site from the list of sites
- Choose the desired page from the site
- In this tutorial, we are choosing Marketing strategies from the Marketing Updates site
- Click Edit in the top right corner of the page
- Click the + icon next to any location where you wish to add the new web part
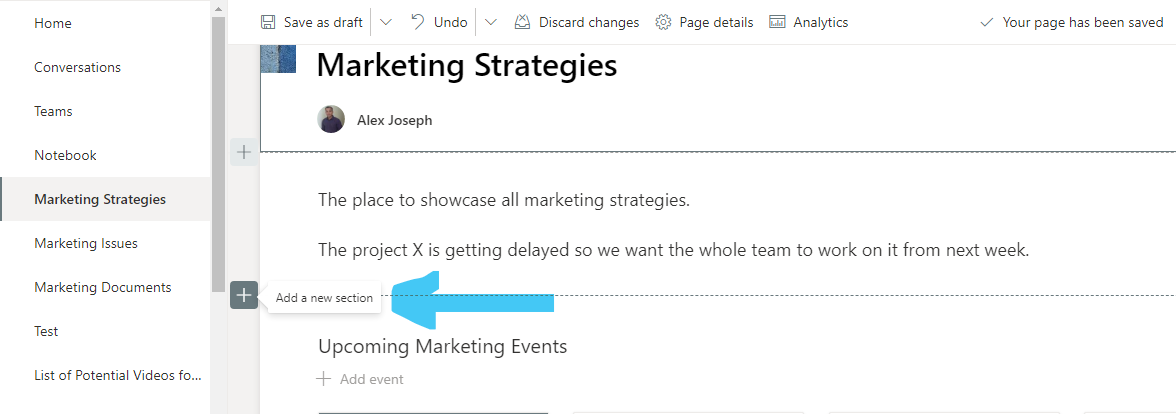
- Set a suitable layout
- Click on the + icon seen in the middle of the new section
- From the window that opens, search for "File viewer" and choose the desired web part
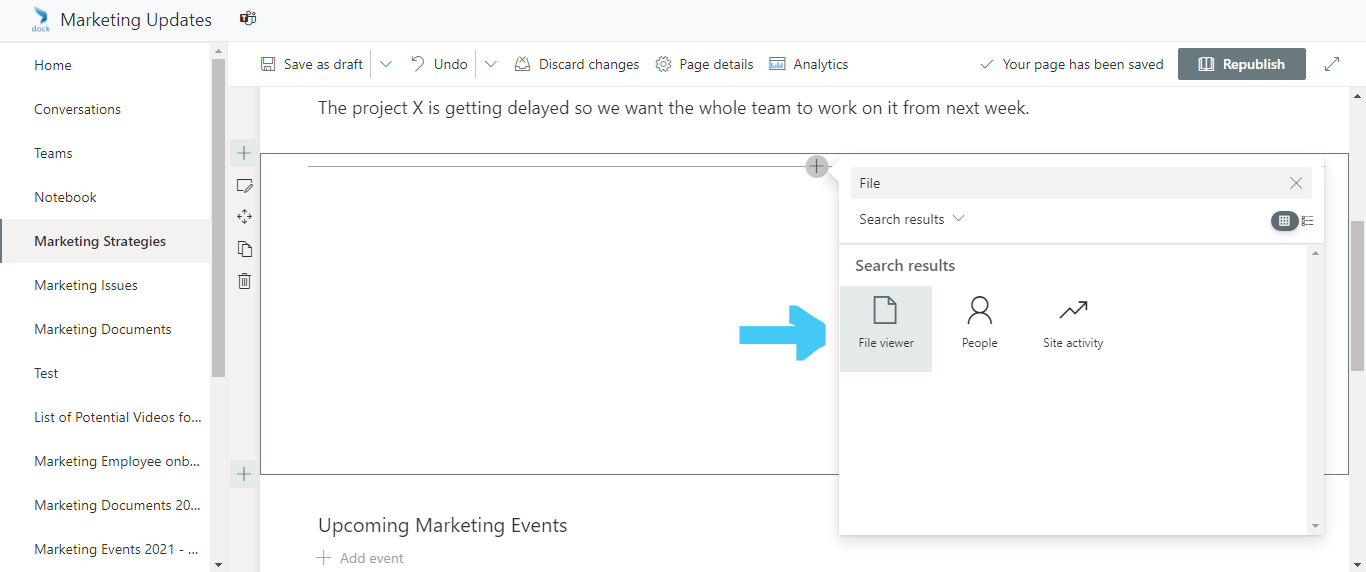
- As soon as you choose the web part, it will be added to the page and will prompt you to add a document

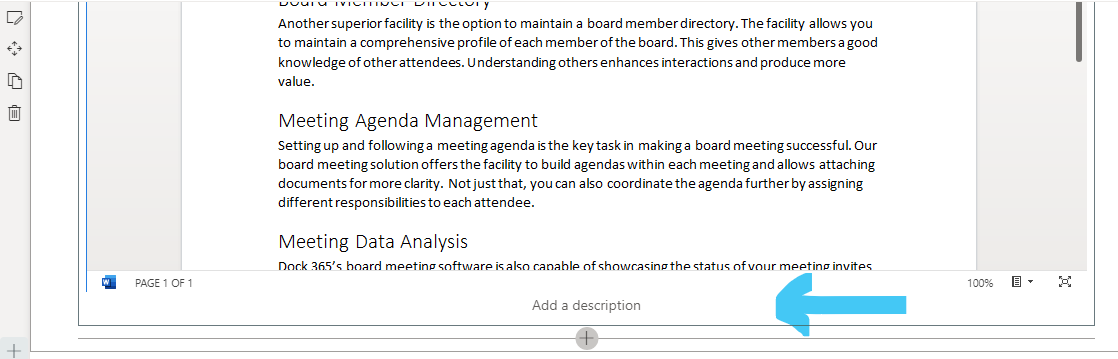
- You can choose a document from options including Recent, OneDrive, Site, Upload, and From a link
- Once the file is added, the next step is to enter a description
- After entering all details, click Republish
- The document will be now inserted into the page
Helpful Tips to Make the Most of This Web Part
- While you won't be able to add images to a SharePoint page using the File viewer web part, you can use the Image web part to do so
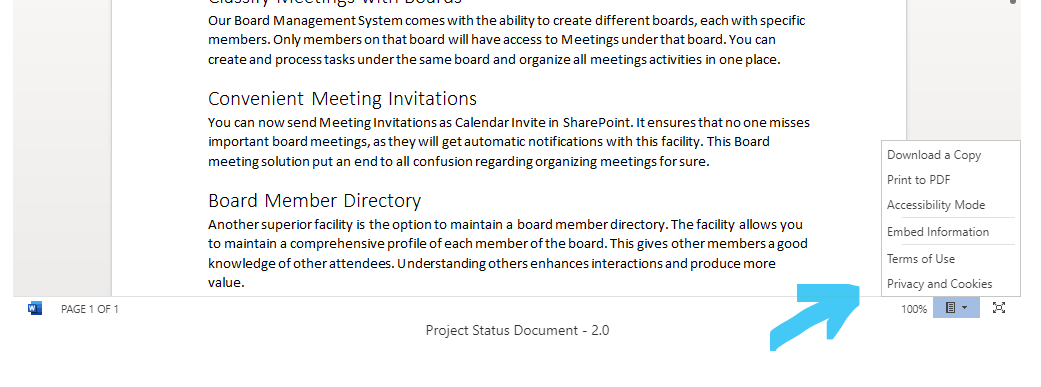
- There are options to print, download, and more by clicking the menu icon at the bottom of the document
- Click the Fullscreen icon next to the menu icon at the bottom of the document to open the document in a new tab
We recommend giving these options a try to make your document collaboration experience better with Microsoft SharePoint.

Book a Live demo
Schedule a live demo of Dock 365's Contract Management Software now.