
Microsoft Services and Productivity Solutions are brilliantly designed to boost your communication and collaboration capabilities. However, to maximize these capabilities, it is necessary to combine several popular Microsoft Solutions such as SharePoint, Outlook, OneDrive, and Teams. One notable tool that enables users to automate repetitive and time-consuming tasks is Power Automate. Let’s discuss five ways to boost collaboration and productivity in the Microsoft Teams platform by using Power Automate templates.
Microsoft Power Automate lets you set up flows to get boring and least productive tasks done easily. It gives you more time to focus on potential tasks. With the help of preset power automate templates, you can set up flows easily. Let us show you how to get flow set up in 5 different ways to boost collaboration in Microsoft Teams.
Content-
- How to get started
- Notify A Team When A File Is Added to SharePoint
- Schedule A Meeting with A Message Sender
- Follow Up on A Message
- Post Message to Microsoft Teams When an Email Arrives in Office 365 Outlook
- Create A Task from A Message
How to get started
What exactly is Power Automate? Power Automate is a Microsoft Service that lets you design your workflows across different apps and services to help you get things done faster. Some features of Power Automate include collecting data, receiving notifications, and syncing files. To get started with Power Automate and workflows, you will first need a valid Microsoft account and sufficient permissions. Now we will look at some of the Power Automate templates that let you do more in the Microsoft Teams platform.

1. Notify A Team When A File Is Added to SharePoint
With the help of this Power Automate template, you can ensure that a Team in your Microsoft Teams platform is getting notified when a new file is added to any specified SharePoint folder. Here is what you need to do for setting up this flow.
- Go to Power Automate from your Microsoft 365 App Launcher.
- Click on Templates from the left bar and search for the template ‘Notify a team when a file is added to SharePoint’.
- Choose the template and verify the Teams and SharePoint connections at the bottom.
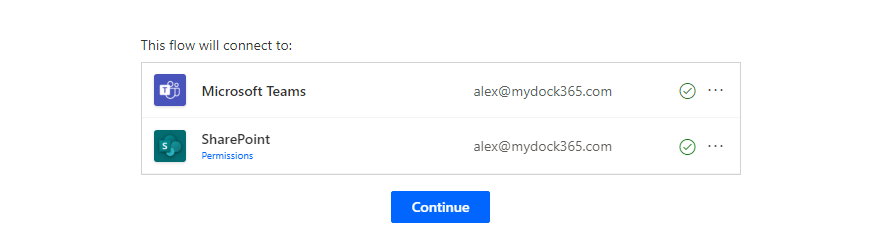
- If necessary, click more options and choose ‘Add new connection’.
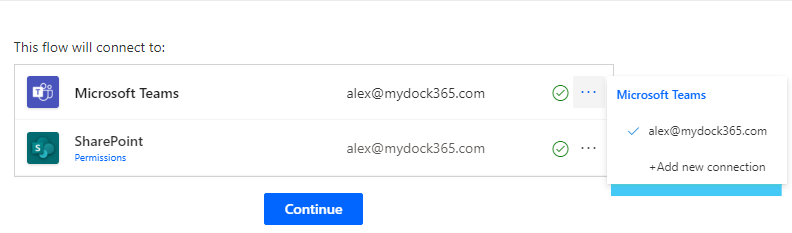
- Click on Continue to proceed and choose the desired values in the fields shown in the next window.
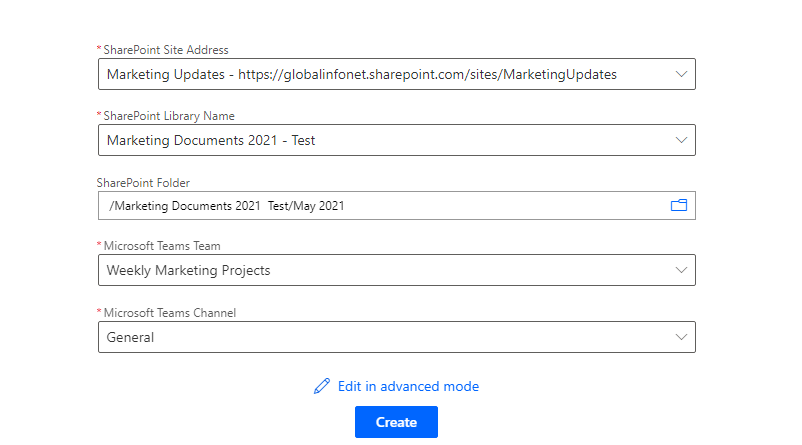
- Click Create and the flow will be set up and turned on.
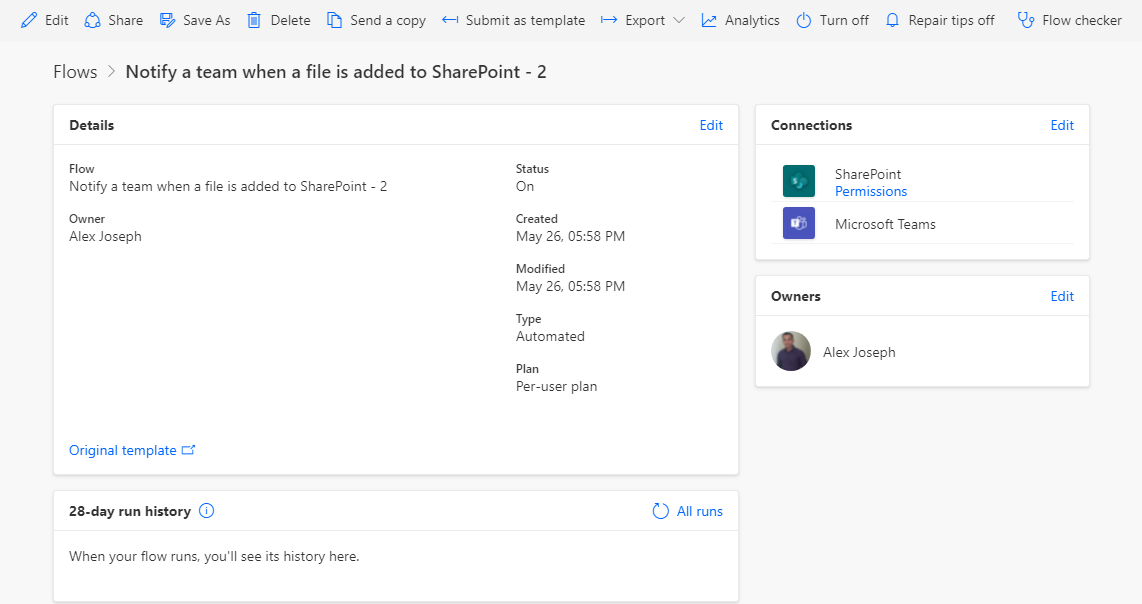
- You will get all options to customize, analyze, or turn off the flow from the flow page.
- Add a document and test the flow.
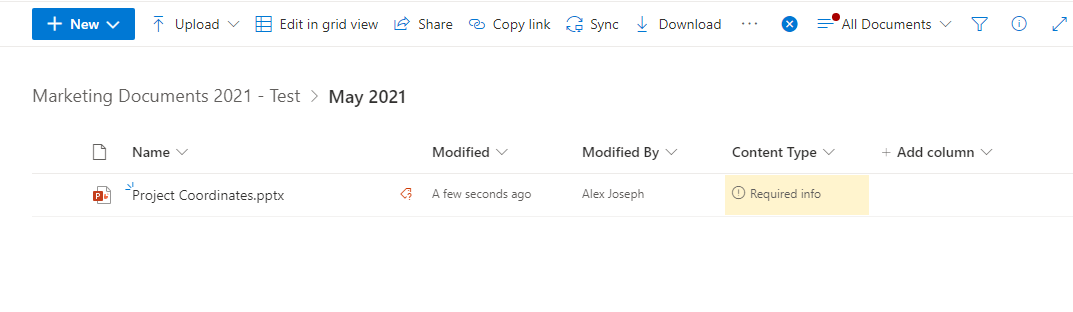
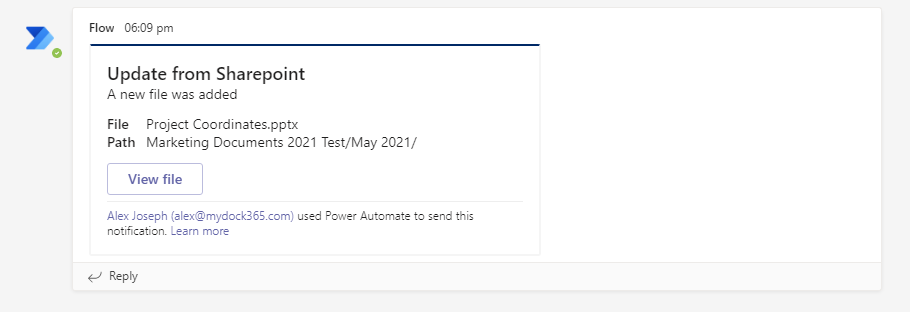
- Whenever a new document is added to the defined SharePoint folder, it will send a notification to your desired Microsoft Teams channel.
2. Schedule A Meeting with A Message Sender
With this template in Power Automate, you can schedule a meeting with a message sender right from your Teams chatbox. Here are the steps to do that.
- Go to your Power Automate home page and click on Templates from the left sidebar.
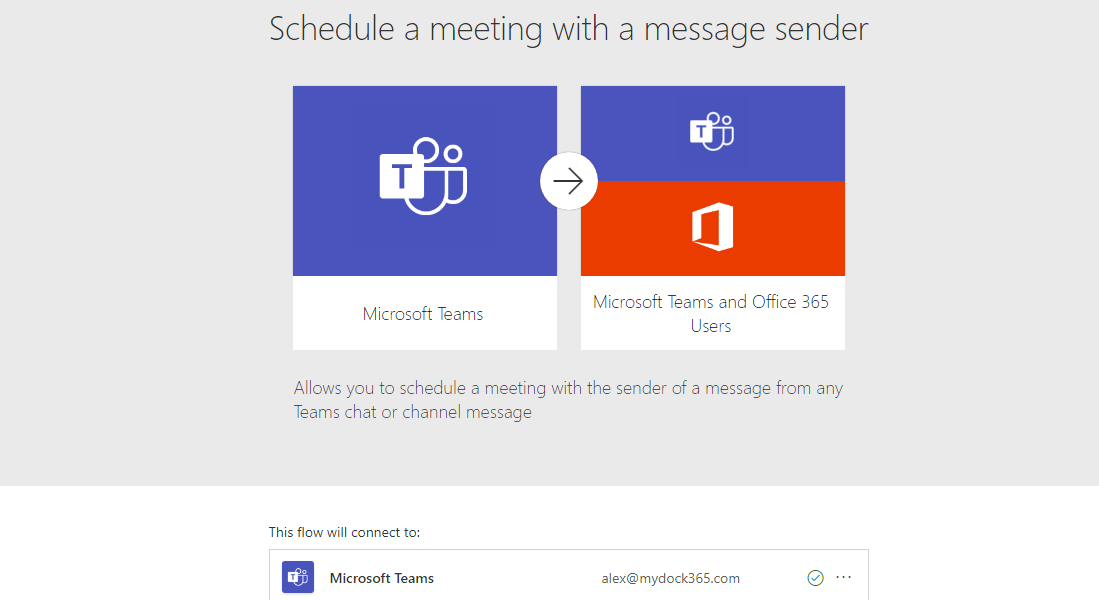
- Search for ‘Schedule a meeting with a message sender’ template and select it.
- Configure the Microsoft Teams Calendar ID and Time Zone from the bottom.
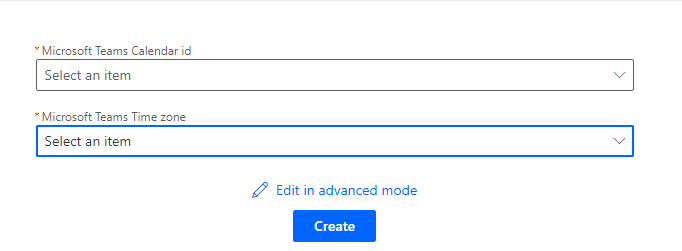
- Click on Create. The flow will be saved and turned on.

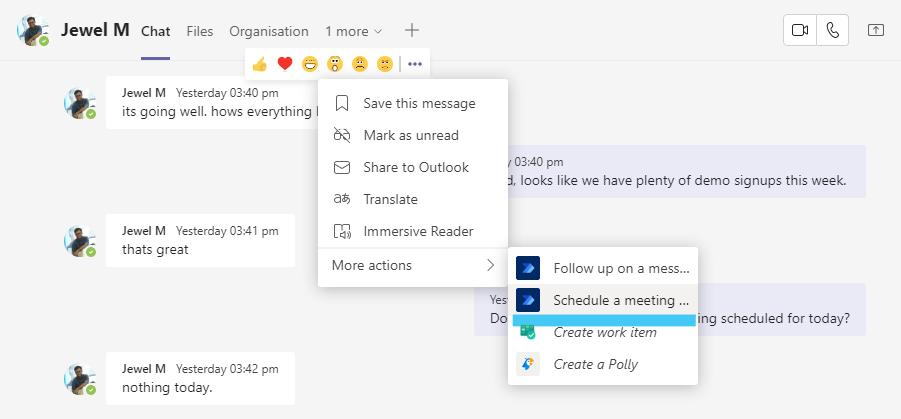
- Go to your Teams platform and click on the more options icon shown right next to any message you received.
- Go to More actions and choose Schedule a meeting with the message sender.
- Enter details about the meeting and schedule it for the desired date and time.
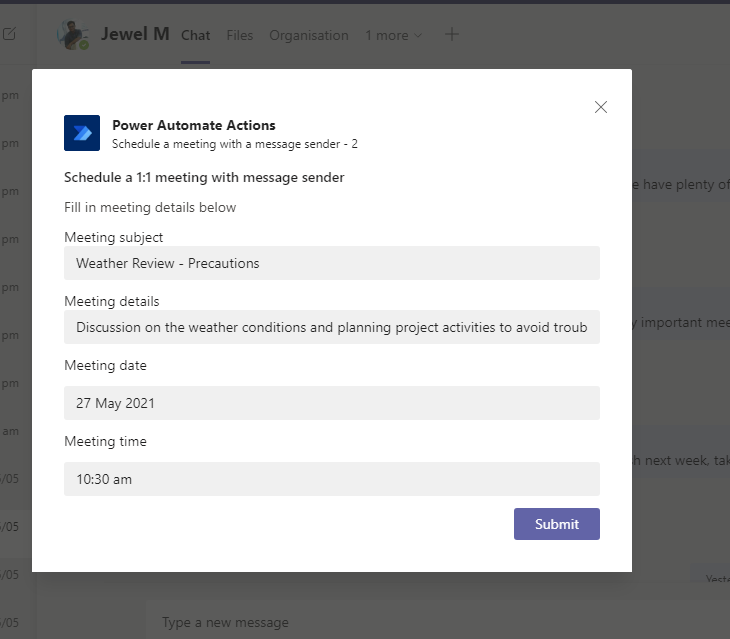
- Click on submit to complete the meeting scheduling process.
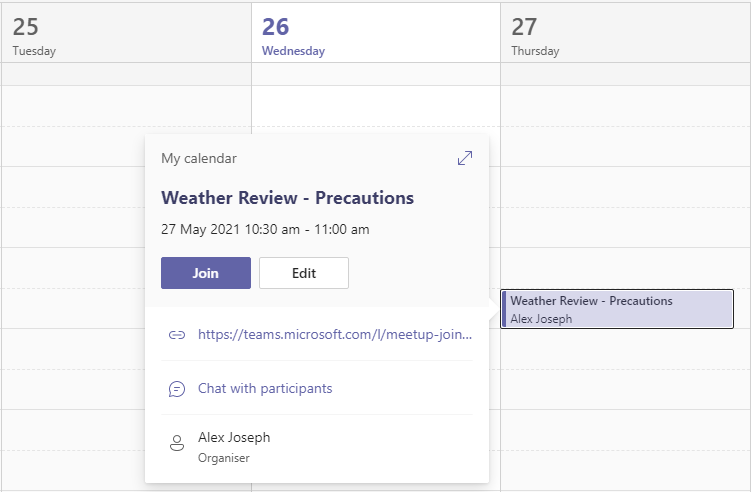
- Look at the Teams Calendar to confirm the meeting is scheduled.
3. Follow Up on A Message
When you are busy with a lot of tasks, messages, and meetings, it will be tough to remind yourself about a particular chat and follow up on time. You can now set up a flow using Power Automate to remind you after a certain period to act on a message you received. The Follow Up on a Message template makes this possible. Here is how to set this up.
- Go to the Templates section in the Power Automate Home Page and search for ‘Follow Up on a Message’.
- Choose the template and choose the right Teams connection at the bottom.
- Click Continue and make necessary changes on the next page.
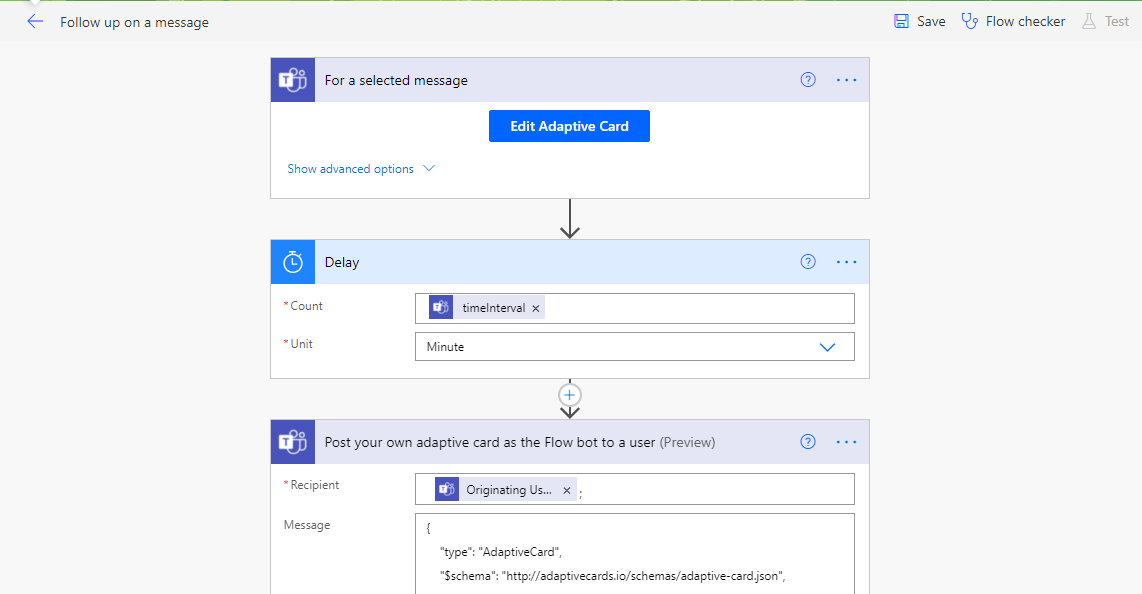
- Click Save after making all necessary changes.
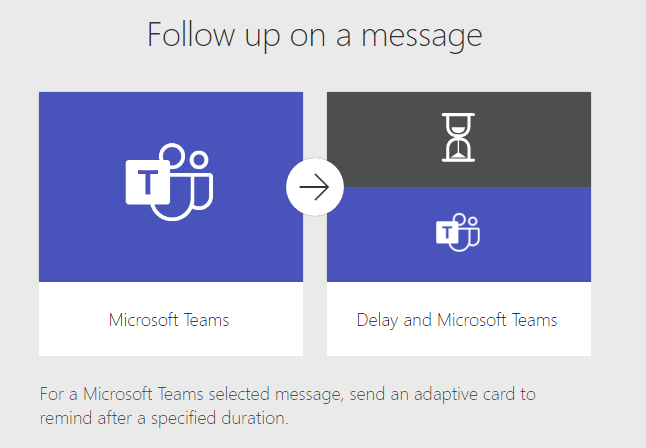
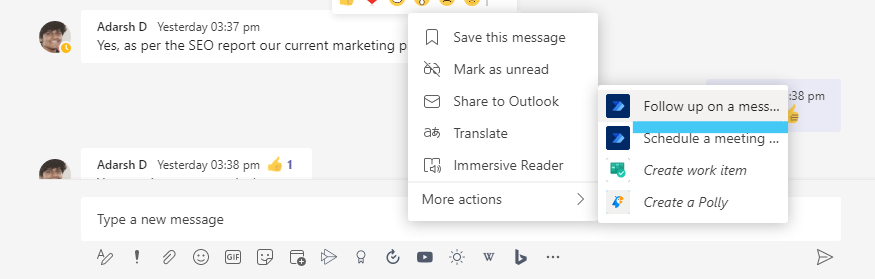
- Go to Microsoft Teams platform and go to more options icon shown next to any message you received and choose ‘Follow up on a message.’
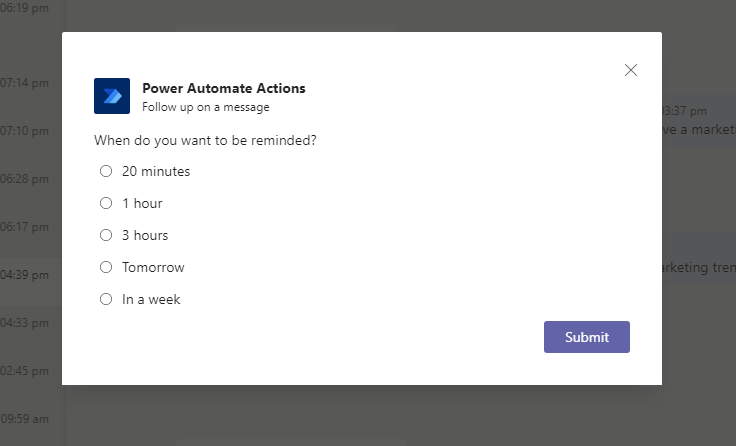
- Choose a time slot from the window that appears and choose ‘Submit’.
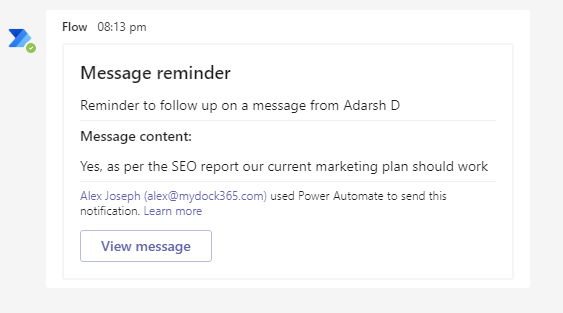
- You will see a similar notification like this after the chosen time frame.
4. Post Message to Microsoft Teams When an Email Arrives in Office 365 Outlook
While working in the Teams platform you might not wish to leave the Teams environment for checking emails. You can now set custom notifications when emails with defined conditions arrive in your Microsoft 365 Outlook Account. Here is how to set it up!
- Go to the Templates section and choose ‘Post Message to Microsoft Teams When an Email Arrives in Office 365 Outlook’ template.
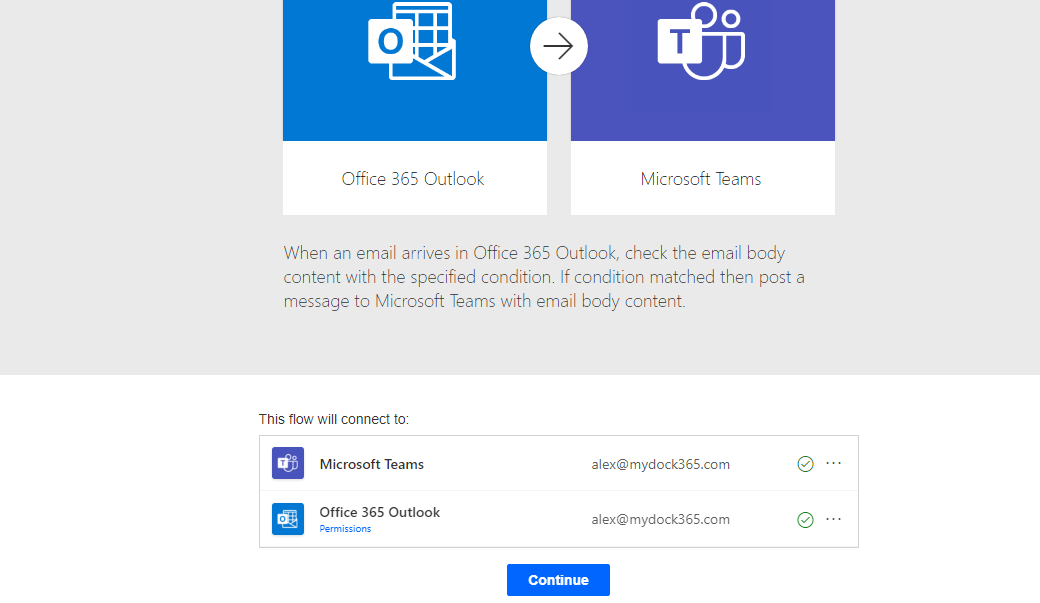
- Set up the right Microsoft Teams and Outlook connection at the bottom.
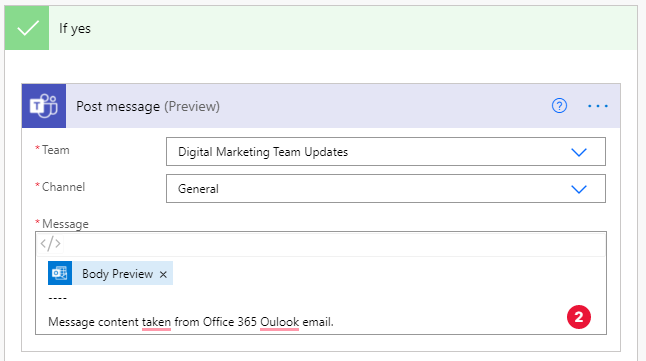
- Click Continue and configure fields like a folder, condition, Teams ID & Channel, and message format.

- Click Save when you are done.
- If the condition is matched, you will receive a message like this to the desired channel.

5. Create A Task from A Message
You can now create a task in Planner from any message in Microsoft Teams. Assign tasks to people quickly and get work done easily. The ‘Create a task from a message’ template in Power Automate will make that possible. Here are the steps:
- Go to the Templates section and choose the Create a task from a message template from the list.

- Choose the right Teams and Planner connections from the bottom of the page and click Continue.
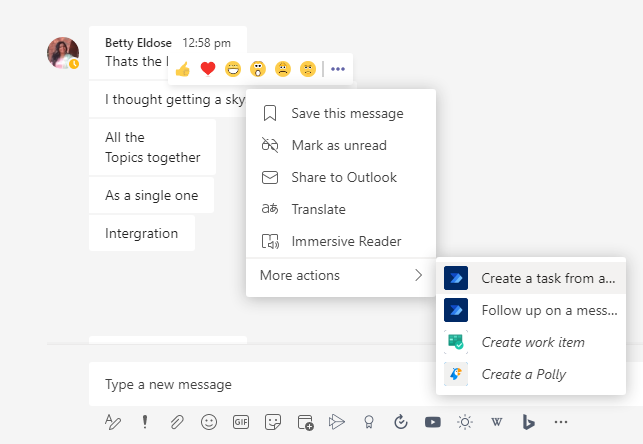
- The flow is now turned on. Go to Microsoft Teams and choose more options by hovering any message.
- Choose Create task from a message
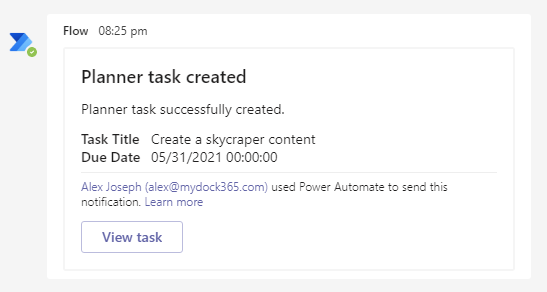
- Enter a task name and due date and click Submit.
- You will now get a task creation notification from Power Automate in your Teams platform.
- You will see all the task information on the card. Click on View task to go to the task page.
These are all simple yet very powerful ways to enhance your collaboration and productivity while working in the Microsoft Teams platform. We hope these Power Automate tutorials will help you utilize these services better. Stay tuned for more Power Automate step-by-step instructions that will show you how to get a flow configured for processing tasks efficiently.
Have a good day.
Book a Live demo
Schedule a live demo of Dock 365's Contract Management Software now.