
In recent years, Microsoft SharePoint has significantly improved, offering a more user-friendly UI. Today's SharePoint pages are easier to use and edit in comparison to classic SharePoint pages. While many users enjoy the classic SharePoint experience, the need for the SharePoint modern UI cannot be dismissed. In this blog, we will show you how to create a megamenu in SharePoint Online and how to optimize its configuration.
What is a megamenu?
When compared to the standard menu view in SharePoint, megamenus offer an enhanced presentation of submenus and pages. Cascade view offers a tried and tested old view, which is rather ineffective when compared to the megamenu option.
The biggest highlight of SharePoint megamenus is how they provide a complete summary of the site navigation in one view. As a result, users can easily discover content, improving the user's experience on the site.

Most effective uses for megamenus
SharePoint megamenu is most effective for navigation that demands to showcase three levels of hierarchy. This doesn't look quite as visually appealing in the cascade view. Moreover, it is megamenus make it much easier and faster to find desired content.
Megamenu is now available in Communication sites and Hub sites. You cannot use a megamenu in SharePoint team sites.
How to create a megamenu in SharePoint Online
Complete the following steps to create a megamenu for your SharePoint communication site:
- Go to the site that currently uses a cascade menu that you would like to transition to a megamenu. We are using our Dock Marketing News communication site in this demonstration.
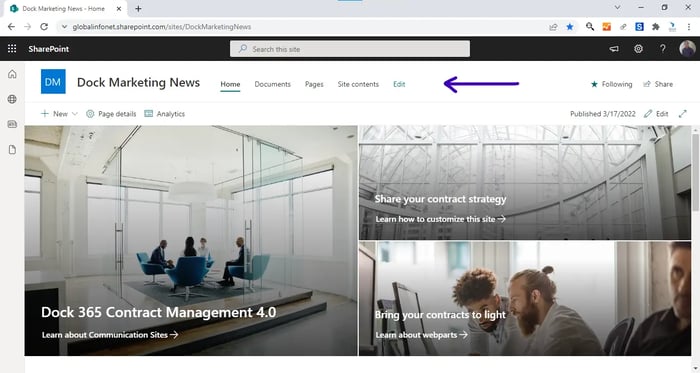
- Click the Edit option provided next to the menu.
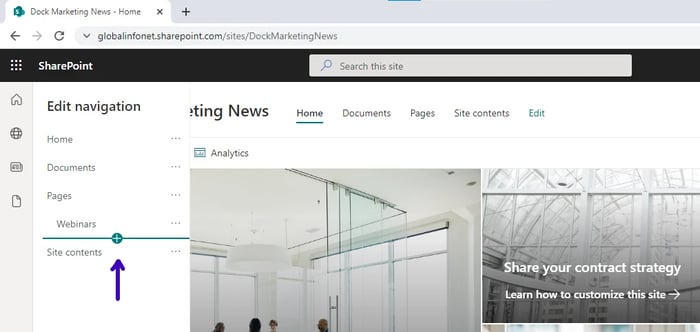
- From the editing panel that opens on the left side, hover your mouse over each option to display the + icon.
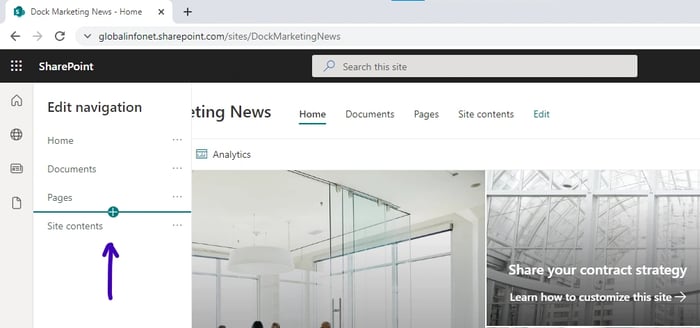
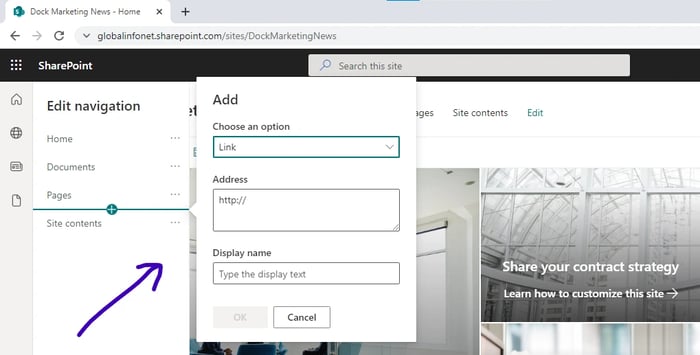
- Click on it to add a link or label as required.
- We are going to add a label, Webinars, below the Pages option first.
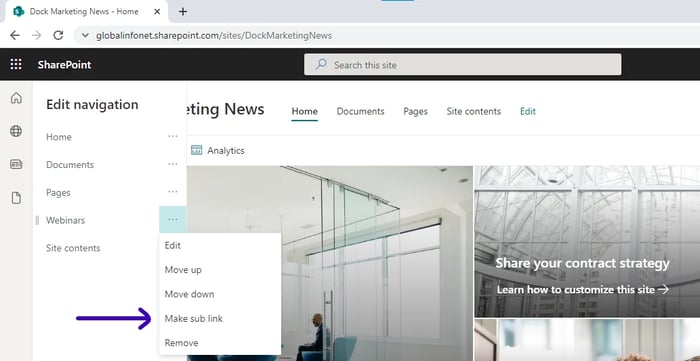
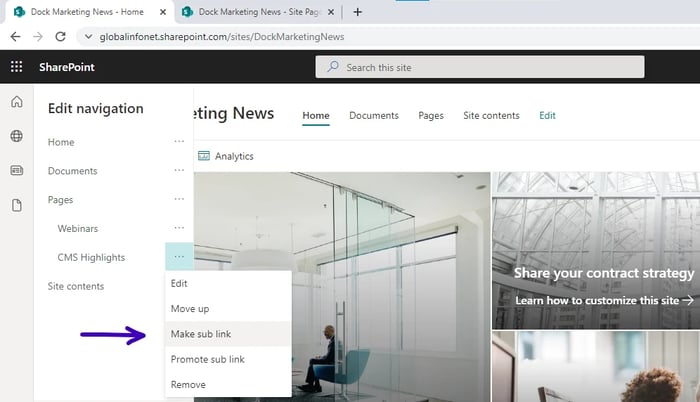
- Click on the ellipses next to Webinars and choose Make sub link.
- Hover your mouse below the newly added sub-link to add more pages below it.
- After adding new pages below, click on the ellipses and choose Make sub link again to add more sub links. This is how a 3-level hierarchy is formed.

- We are adding one more label here. (Discussions)
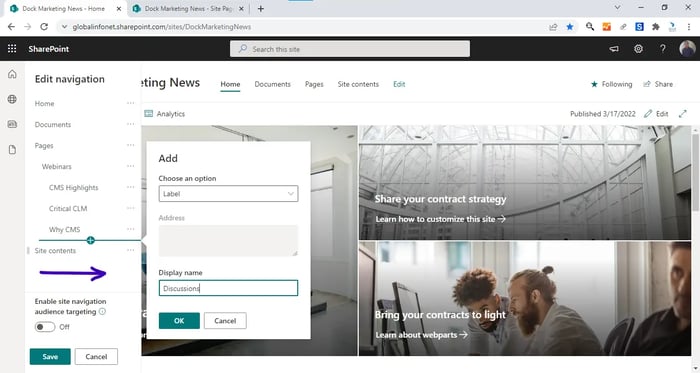
- If the newly added label is listed as a sub link, click on ellipses, and choose Promote sub link.
- After adding sub links as required, click Save.

- This is how it looks in the cascade view now:
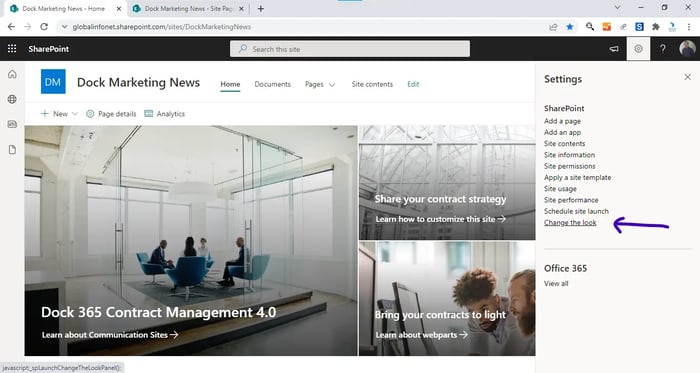
- To enable the megamenu, click the Settings icon at the top and choose Change the look.
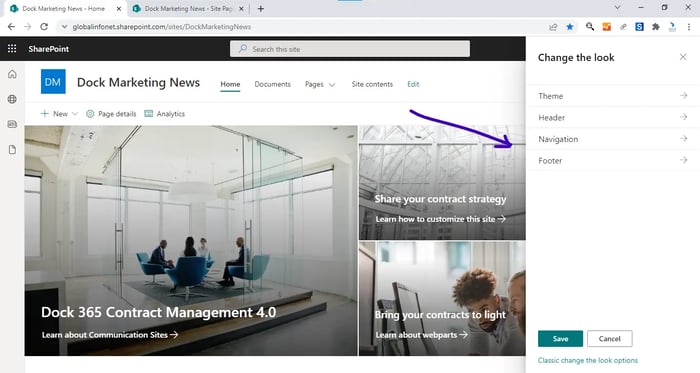
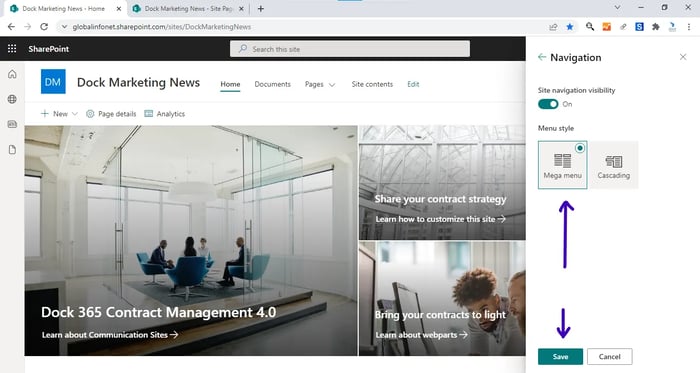
- Choose Navigation and select Mega menu.
- Click Save.
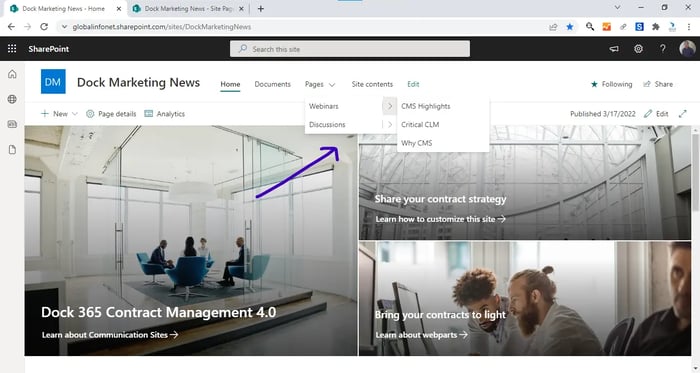
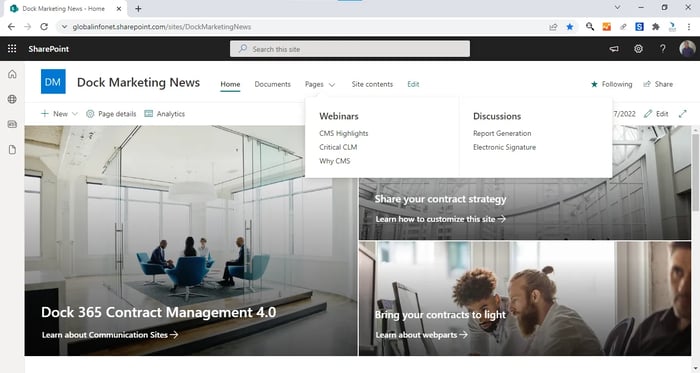
- You can view the mega menu now.
- Add more options (as this is how you create a mega link) to complete your megamenu design.
Book a Live demo
Schedule a live demo of Dock 365's Contract Management Software now.