
Search engines like Google have largely replaced the need to use physical dictionaries to find the definition of words. Why spend time digging through a book when you can Google a word and learn its meaning within a second?
Search engines support businesses and organizations in processing daily work. However, a glossary with designations per business process or department is key to efficiency. Businesses, communities, and organizations create glossary web pages to help their teams, community members, and other users understand the context or meaning of specific terms. In this blog, we will teach you how to create a glossary page in SharePoint.
Why You Need a Glossary
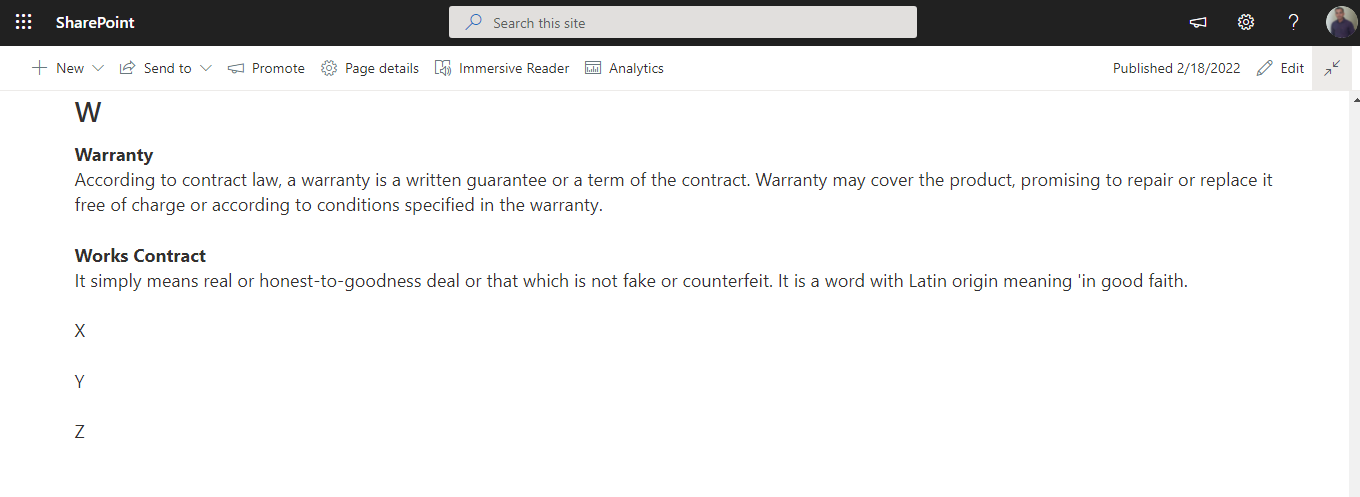
A glossary is a resource used to learn the definition of words, and in the context of business and contracts, several terms hardly used in daily conversations will be presented. With a glossary, your users can instantly gain understanding of exact terms. For example, we offer a Glossary for users to explore the meaning of different contract management-related terms.
Now, let's go ahead and learn how to create a glossary in SharePoint with the step-by-step tutorial provided below.
How To Create a Glossary Page in SharePoint
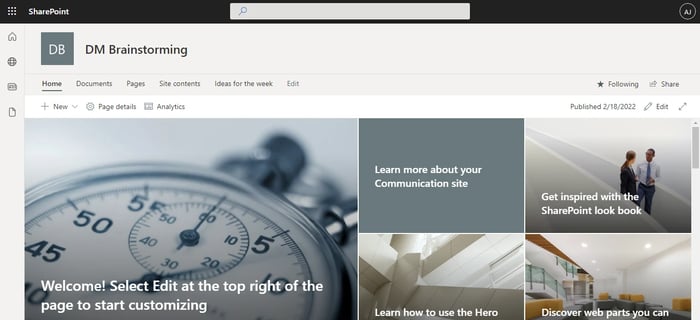
- Select the SharePoint site that you'd like to create a glossary page for.
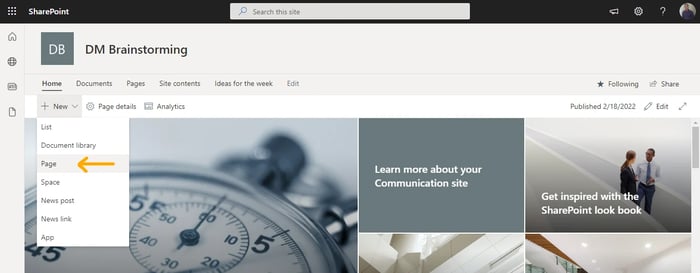
- Create a specific page for the glossary by clicking the +New option and selecting Page.
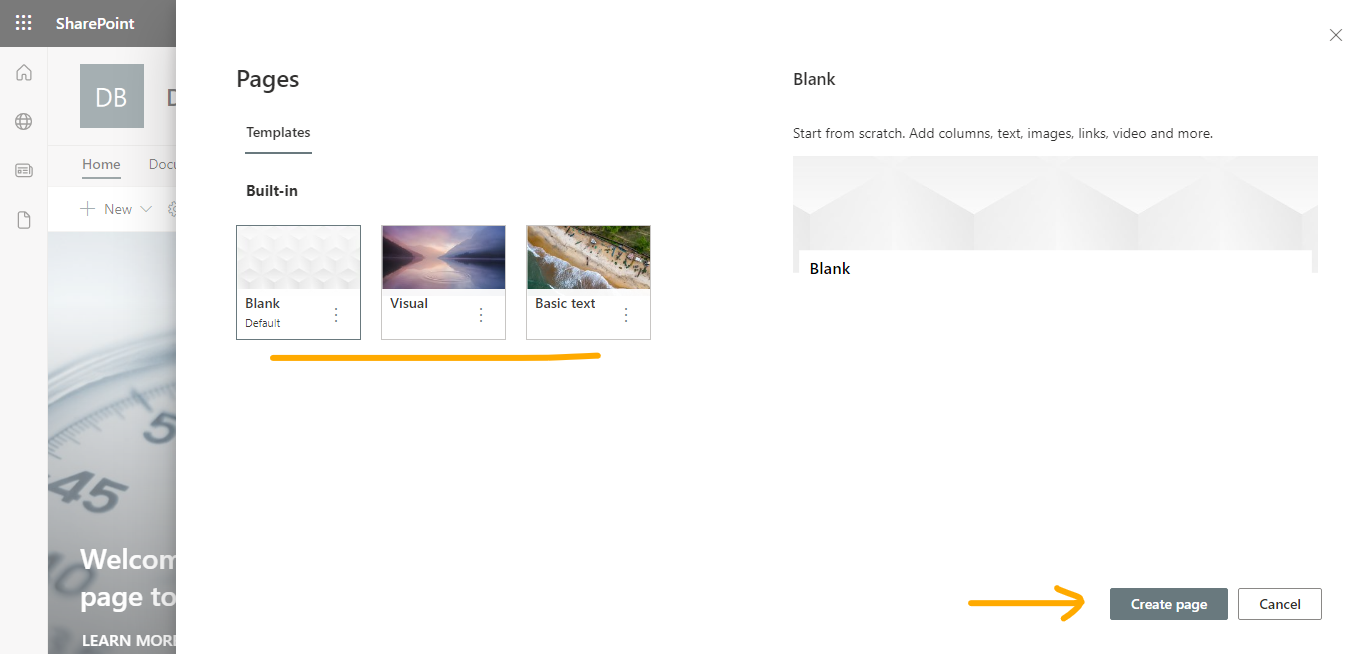
- On the next page, choose your desired template and click Create page. A Blank template is a great option.
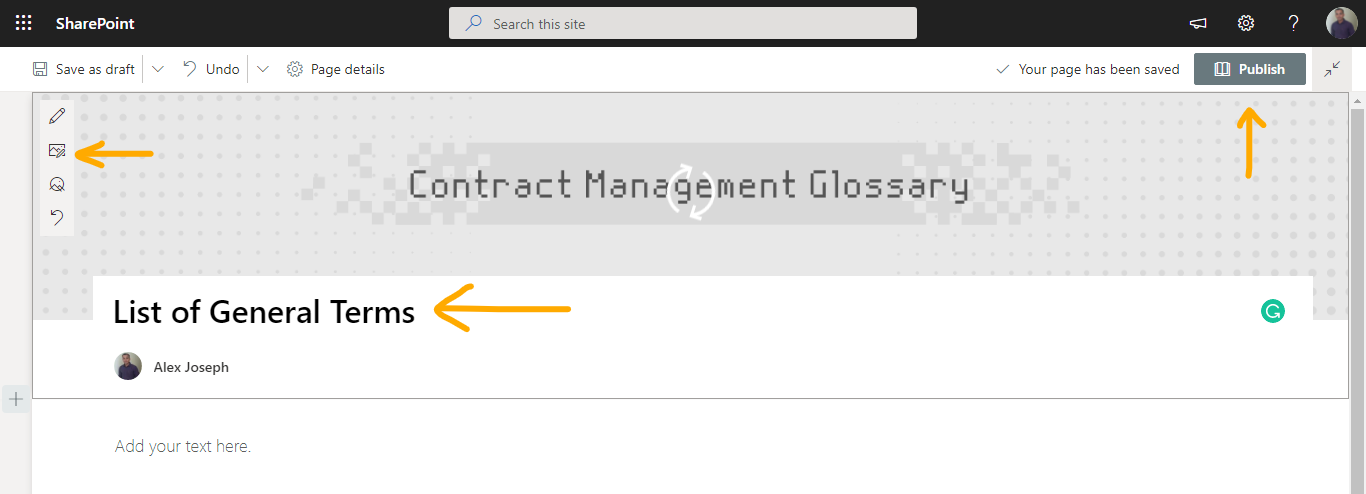
- Provide a cover image and name for the page. We added a custom image in our example below. You can publish the page at this stage if you wish.
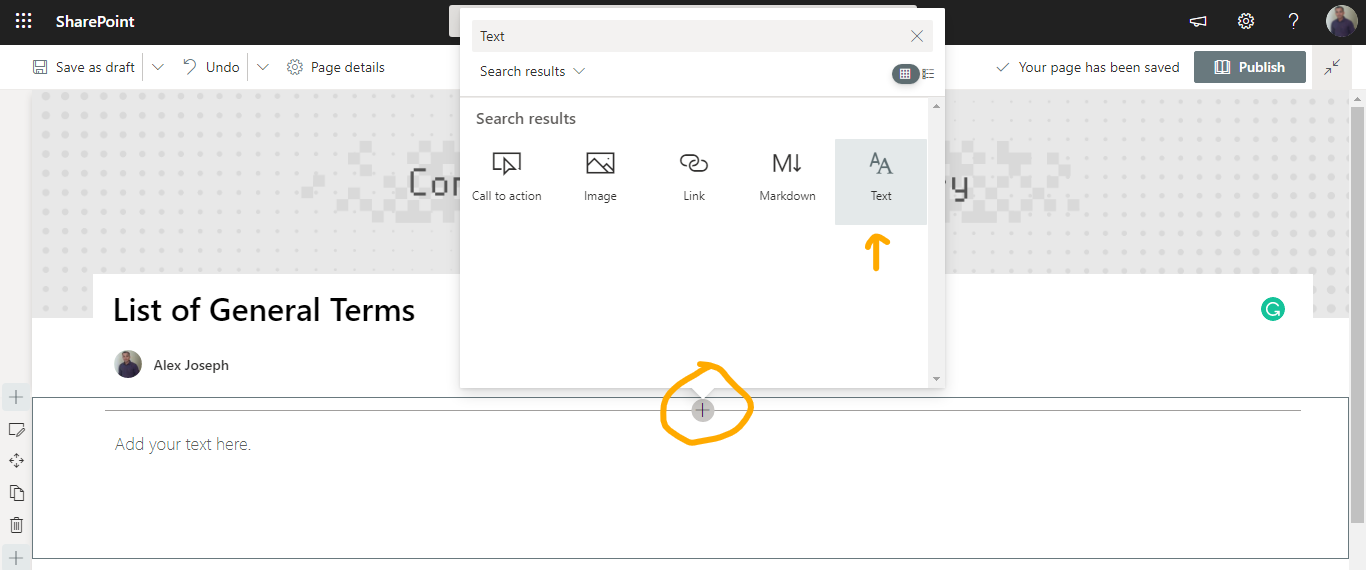
- Add a Text web part to the page by clicking the + Search Text in the search box if you do not see the web part by default.
- Once the web part is added to the page, the next step is to set up an alphabet index.
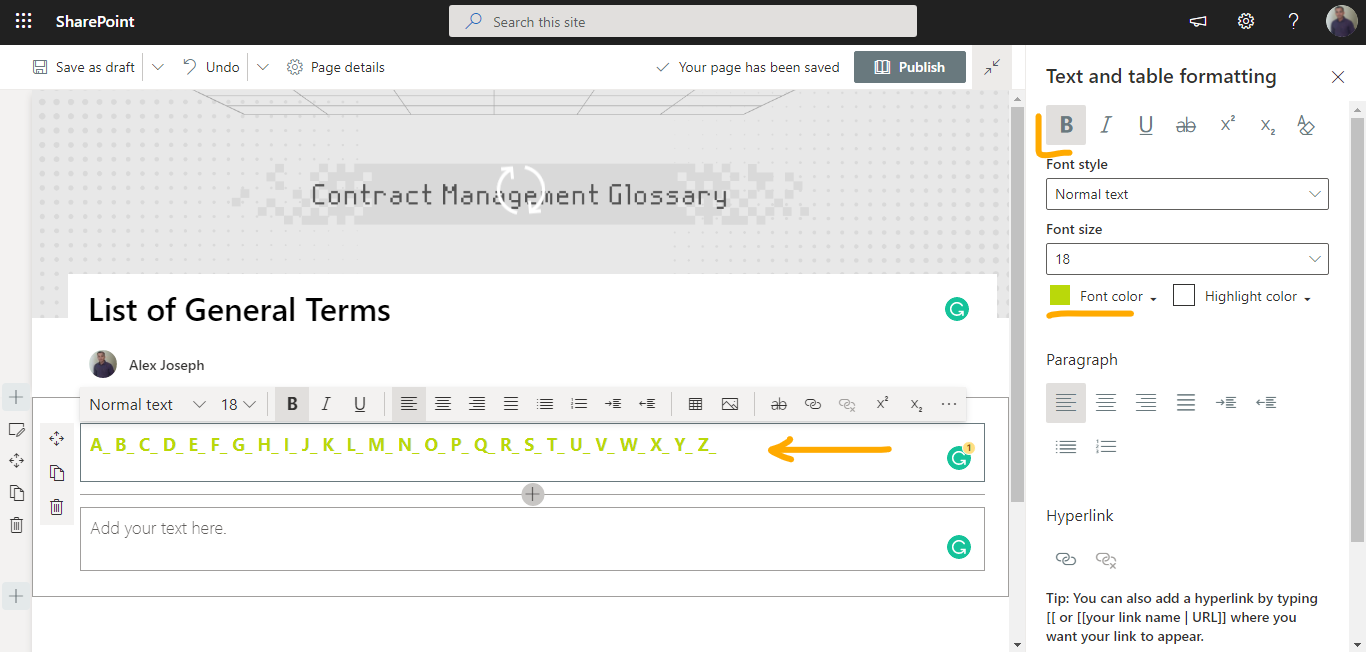
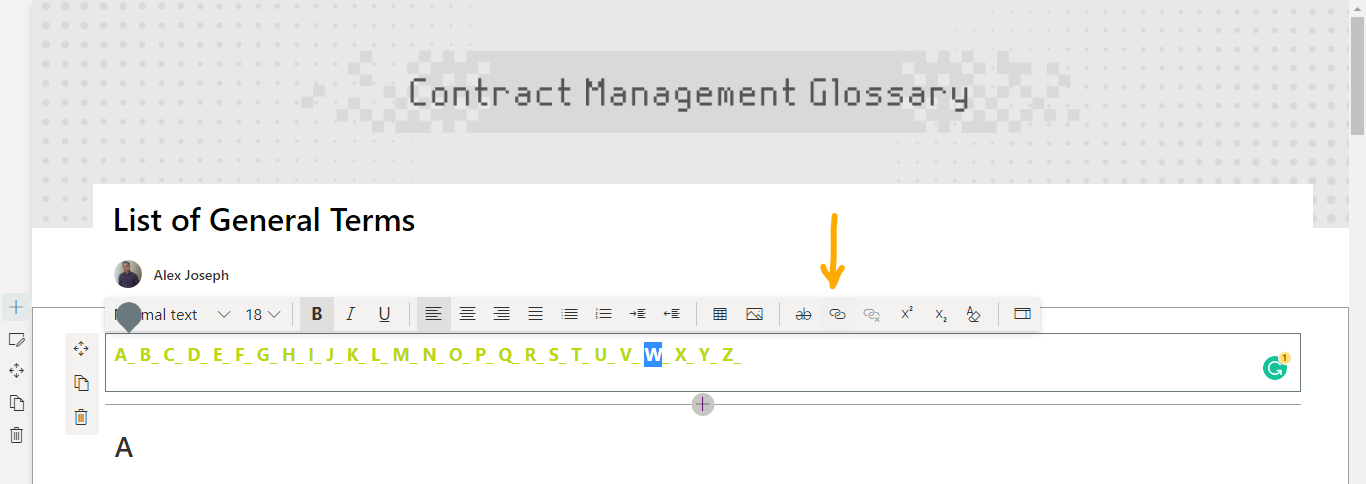
- Enter the letters A through Z into the web part.
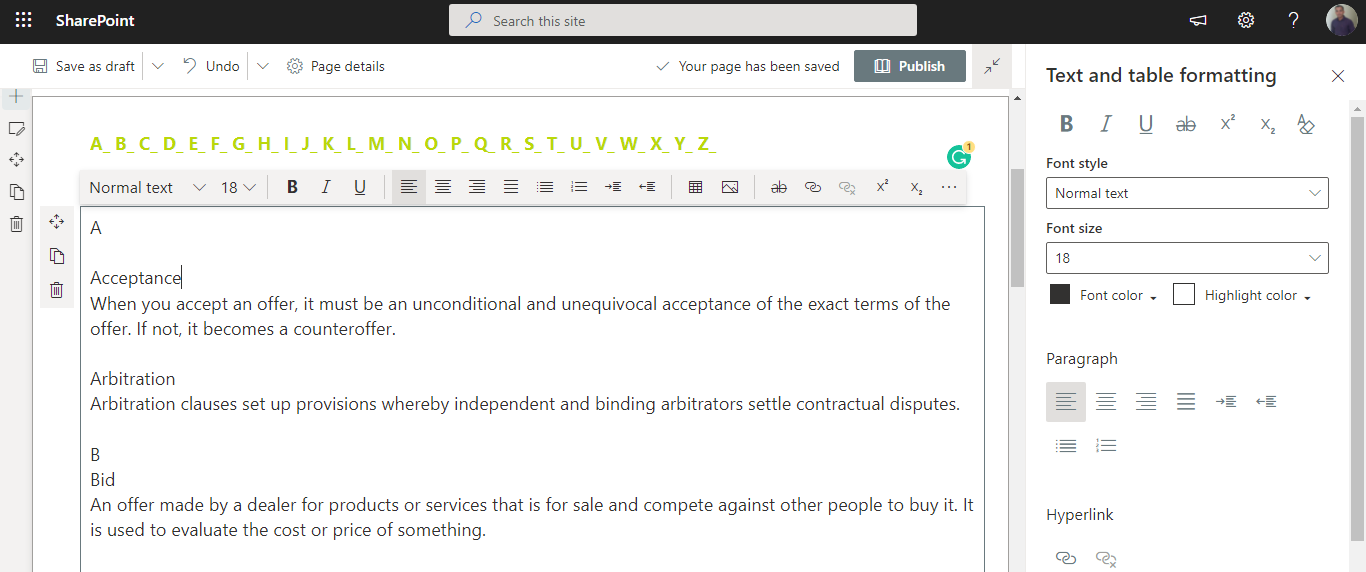
- In the next text web part just below that, start adding all the terms in alphabetical order with their accompanying definitions. Add a letter heading for each section.
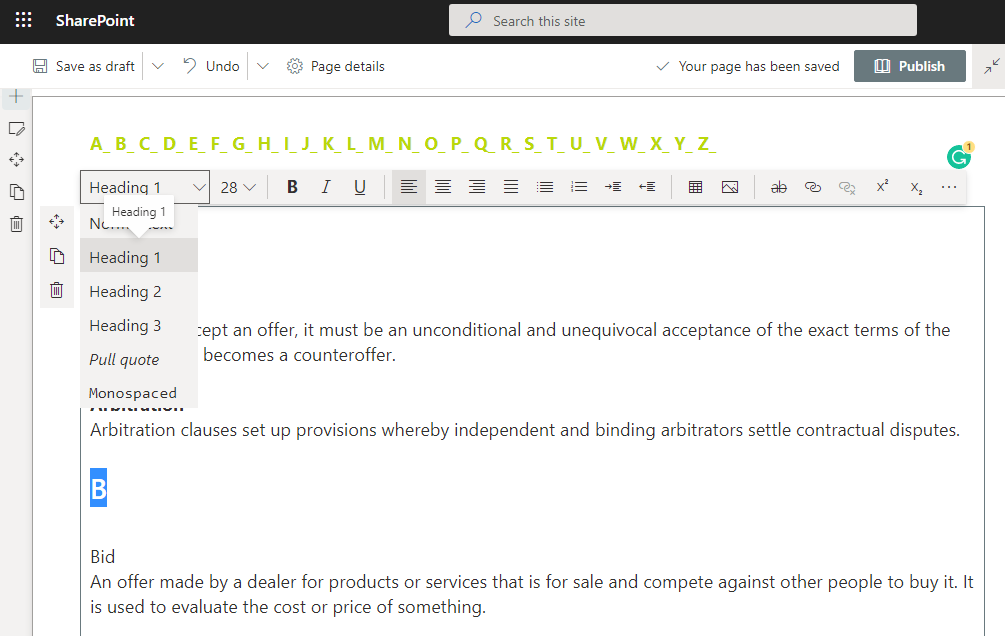
- Next, turn the alphabet headings to Heading 1 tags.
- Bold the terms so users can quickly identify them.
- Publish the page when complete.
- Now, open the same page in another tab.
- Take your page to Edit mode.
- Copy the alphabet title links by right-clicking the link icon next to each title.
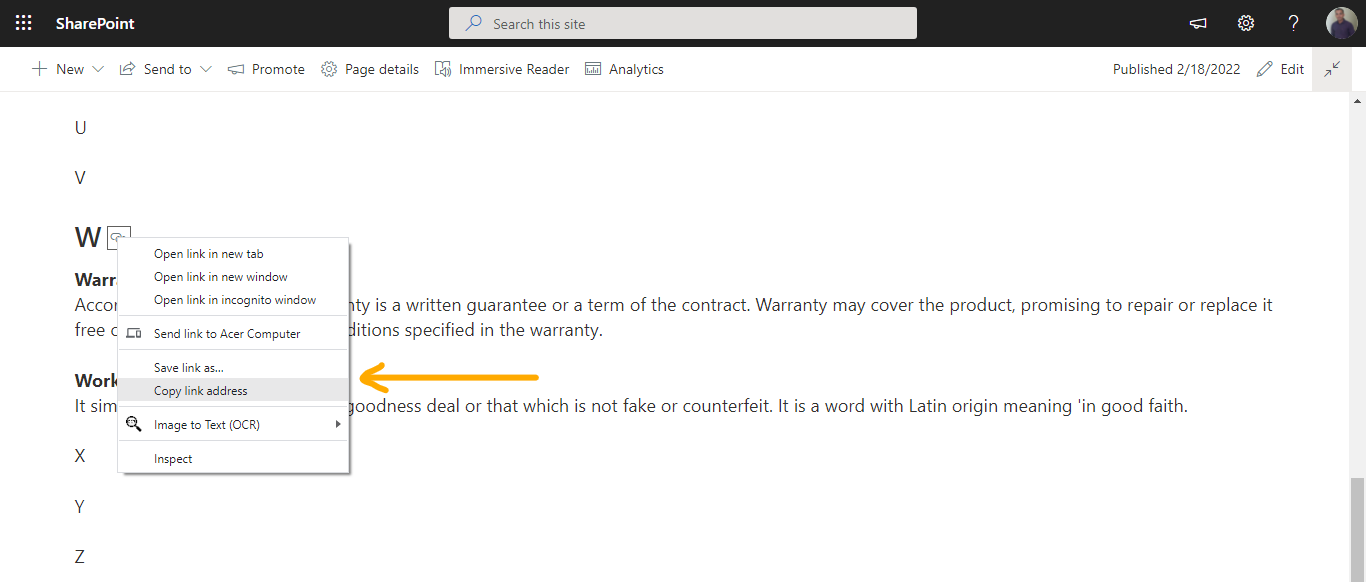
- Hyperlink the respective letter in the alphabet index above (The first text web part we created).
- Repeat the same for all letters in the index.
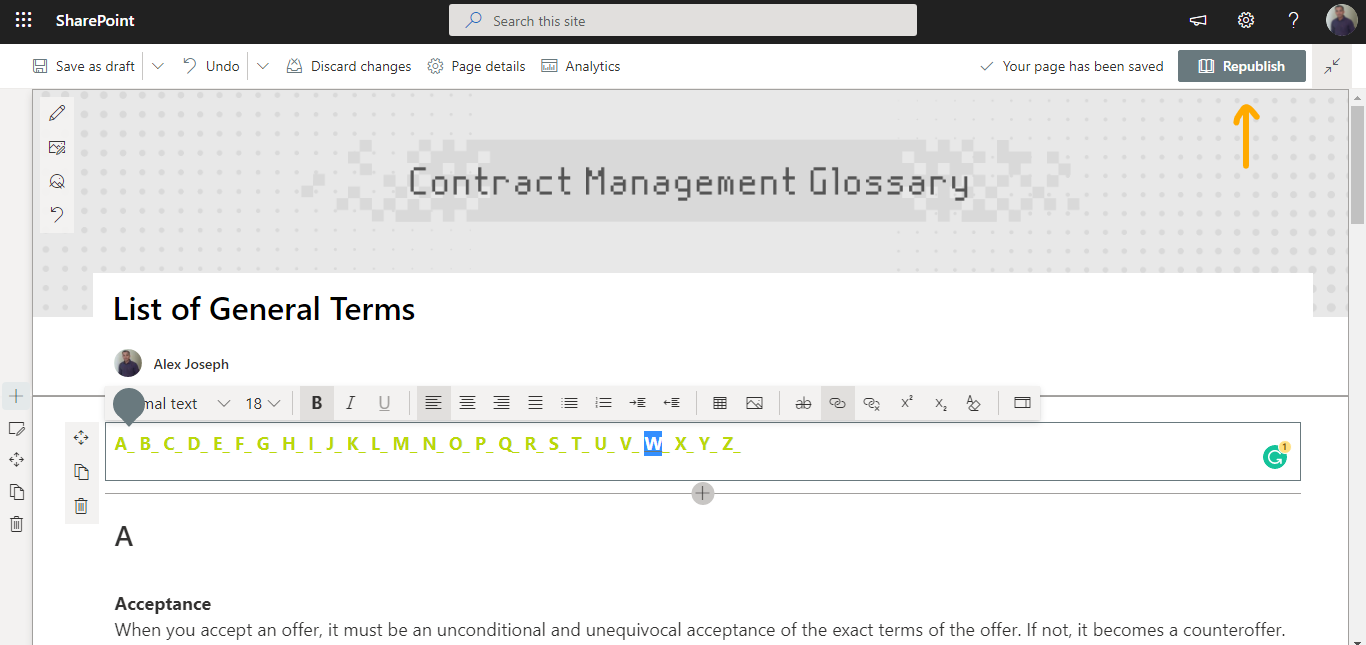
- Republish the page by clicking the Republish button at the top-right.
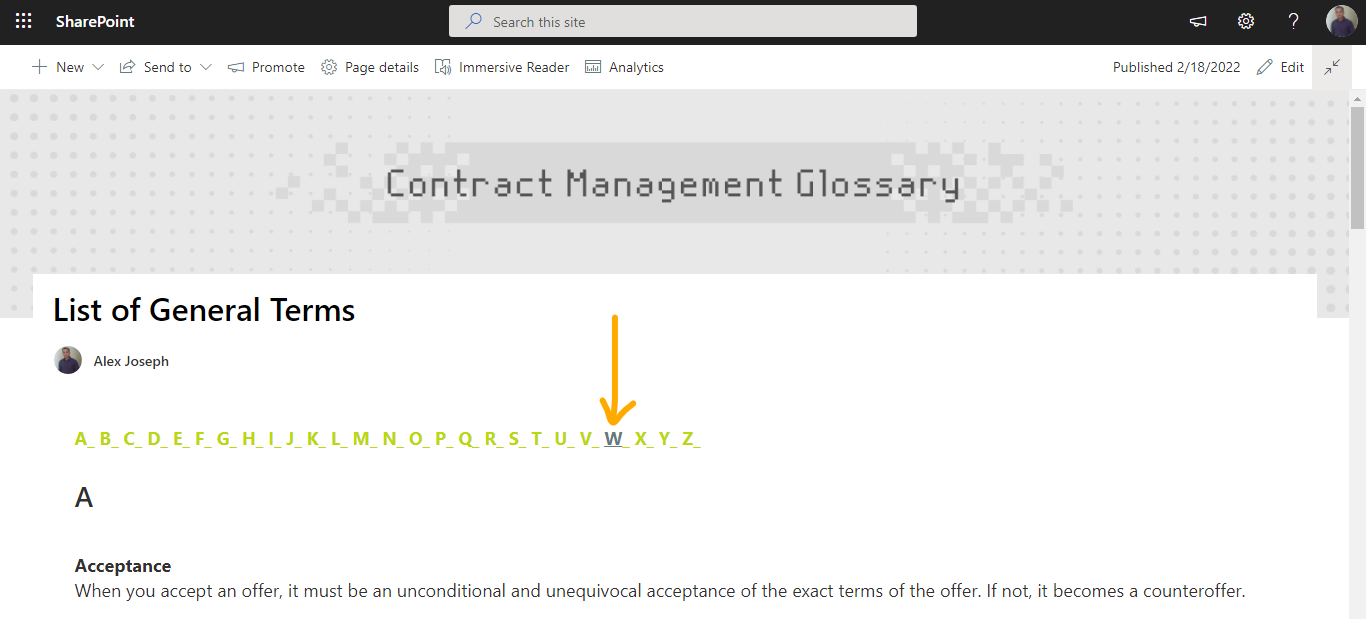
- Now you can click on any letter in the alphabetical index, and you will then be taken to that letter's section of the page.
Helpful Tips
We recommend color-coding your alphabetical index and its terms. In addition, customizing the font size and alignment will make your glossary and its associated content more aesthetically pleasing and visually appealing to user.
Enrich the User Experience with Additional Web Parts
The following web parts can be a great addition to your page:
- Hero Web Part
- Image Web Part
- YouTube Web Part
- File Viewer Web Part
- Embed Web Part
These web parts are excellent for providing additional details for each term. If you create a glossary page in your SharePoint, let us know all about your experience in the comments section below.

Have a good day.
Book a Live demo
Schedule a live demo of Dock 365's Contract Management Software now.